The Closing of Our Open Door Policy

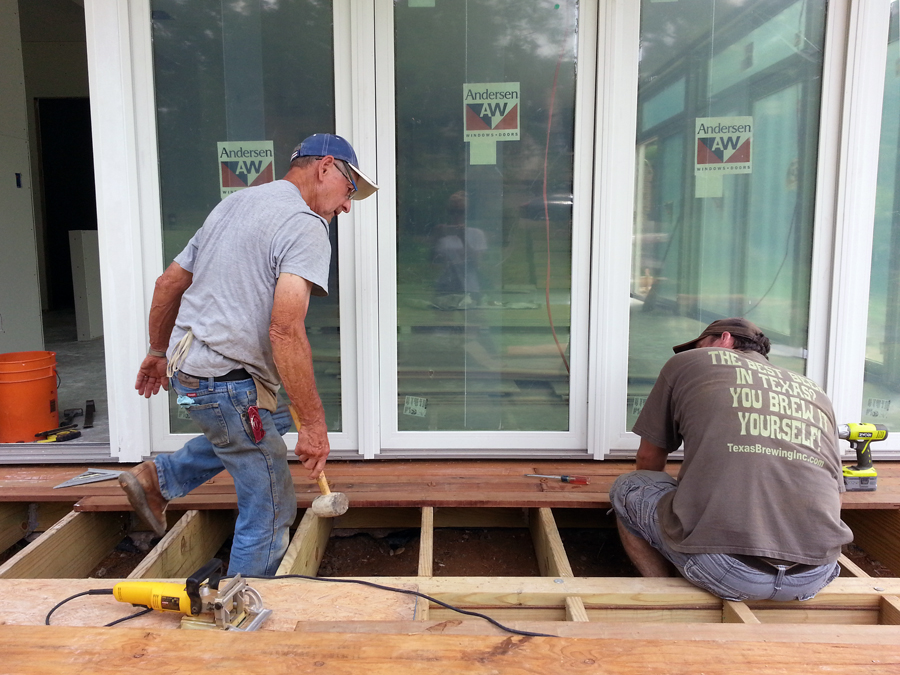
We must do a little time traveling for this post – all the way back to July of 2014. The average temp was about 97°. We had a few soul-crushing +100° days, but we were rewarded with a handful of glorious mid-80° days too. Timing is important and I am profoundly grateful we didn’t try to build a house in the summer of 2011. For those who’ve blocked that terrible time from their memory, that’s the summer of seventy consecutive days over 100°, Austin was literally on fire, and our farmer regularly offered cactus alongside the wilted (but delicious) vegetables in our CSA shares – so July 2014 wasn’t so bad, comparatively. This is what I told myself each time I reached in my pocket for a woe is me card. It worked; my bellyachin’ was kept to a minimum.

20140706_195419

The front door area looked like this for a ridiculously long time. So long, we got a little too comfortable and a little too lax and some thieving bandits made off with a generator and close to a thousand dollars worth of building material. The break in – or the more technically correct term walk in – lit a fire under our butts to get the door installed and locks in place.

20140707_132253

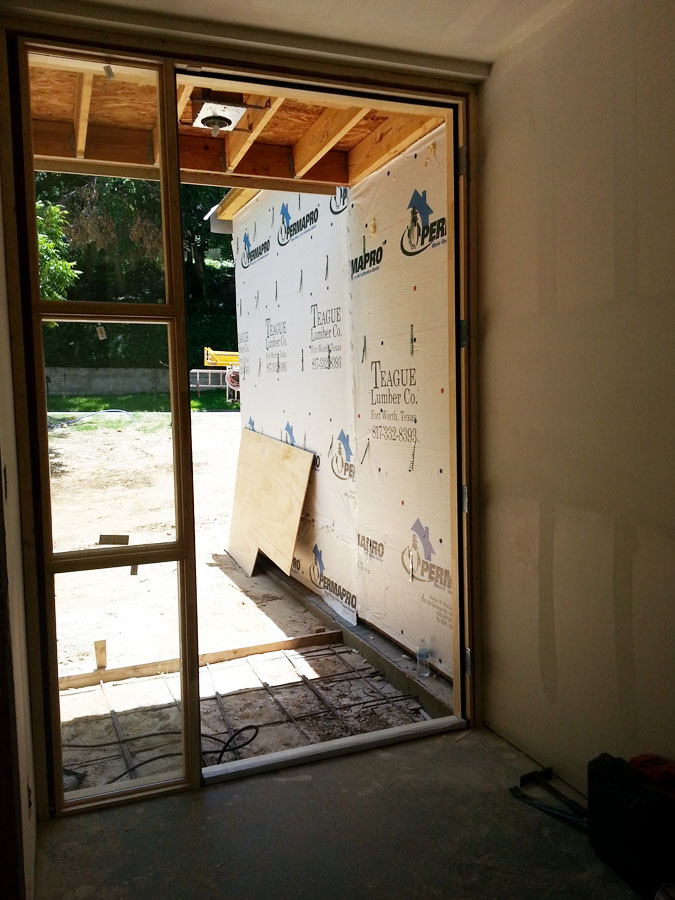
The house design dictated a simple but massive door. We didn’t expect it to be so difficult to find a plain slab 4’x9’ door, but every off-the-shelf option was too small or included panels, carvings, inlays, or other decorative accents—which work well for Colonial, Craftsman, Victorian, and Tudor style homes, but not so much for the mid-century modern meets Dwell-style home the architect designed for us. Resdoor of Fort Worth saved the day by creating exactly what we needed.

20140707_141545

It doesn’t look like much, but that’s a colossal door right there. It’s seven months later and I still have an immense amount of relief that we weren’t responsible for the installation.
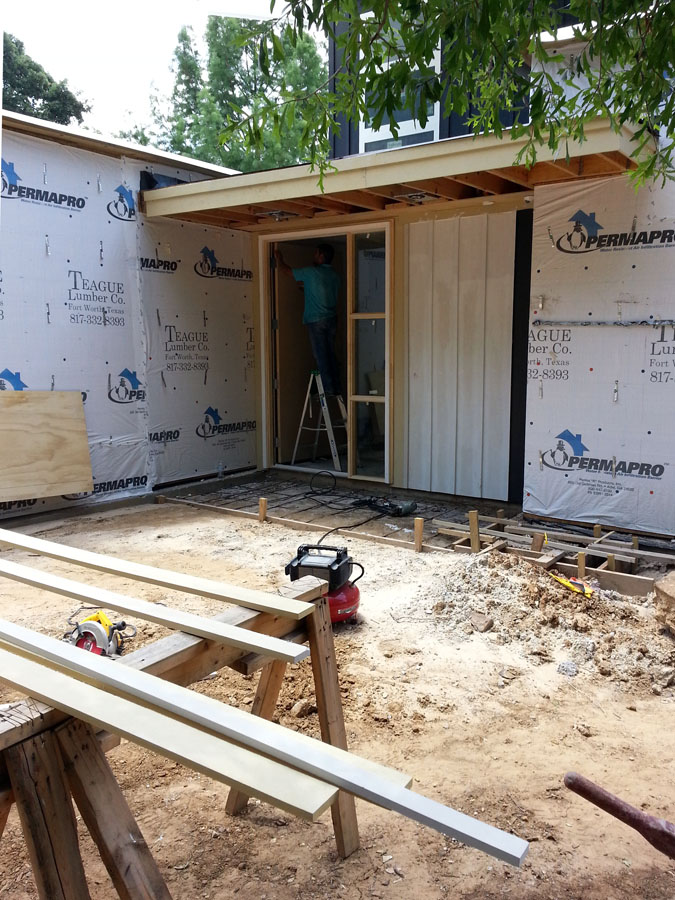
20140707_143412

Good job, Ruben!

That’s where Ruben’s work stopped and we took over…

20140709_134333

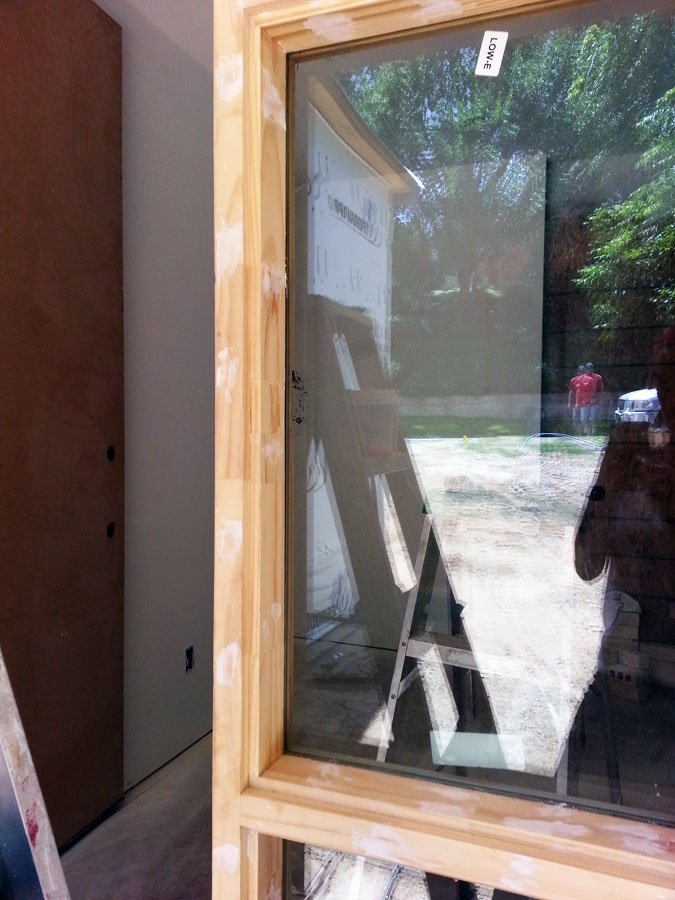
I filled every nail hole until the sidelights looked like a toddler with calamine covered chicken pox. The caulk gun came out about this time too, but it wasn’t as funny as the pox of the chicken so there are no pictures of that work. Does anyone else think the reflection in the window resembles space travel in the Millennium Falcon? No? Well, you could see it if you were high from caulk and paint fumes.

20140713_112216

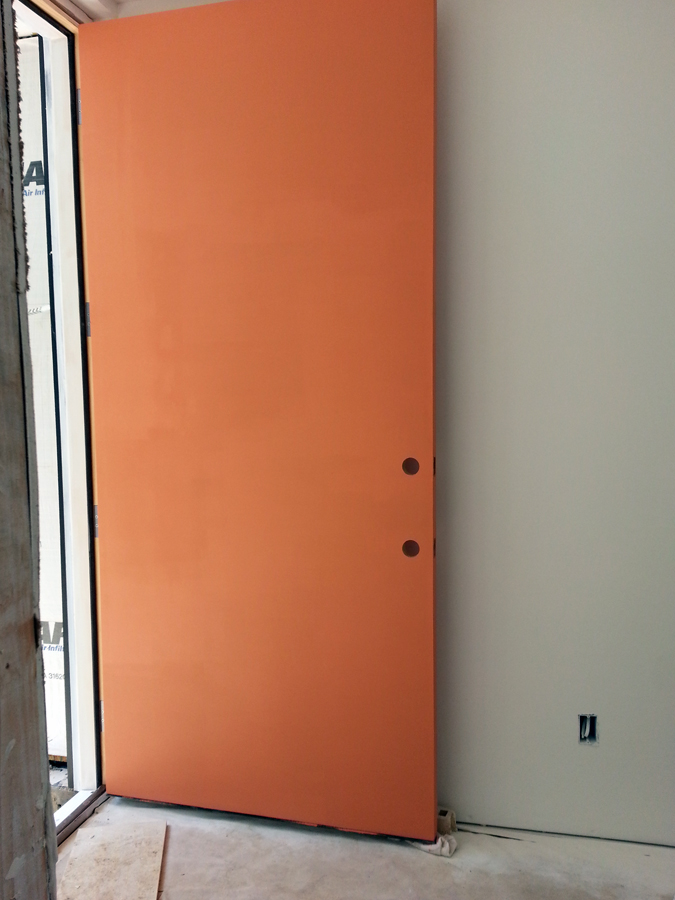
We thought the primer color was bright…

door_2

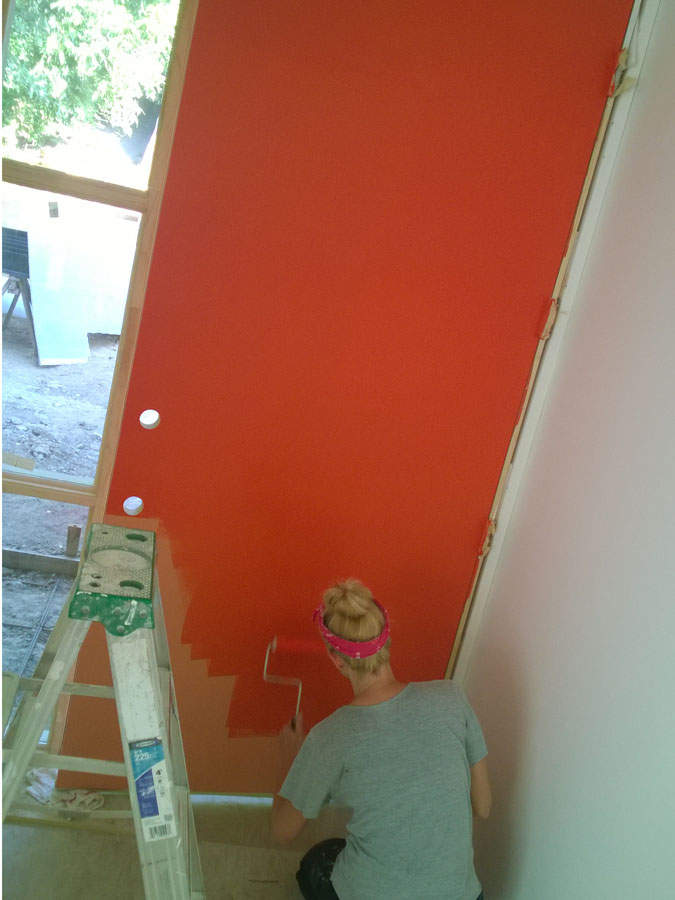
…until it turned the color of Silly Putty next to the real door color, Sherwin Williams Daredevil (SW6882).

20140713_130823

Primer – we briefly considered just leaving it like this.

20140716_165456(1)

But after seeing the real door color, we’re glad we didn’t.

20140715_130226

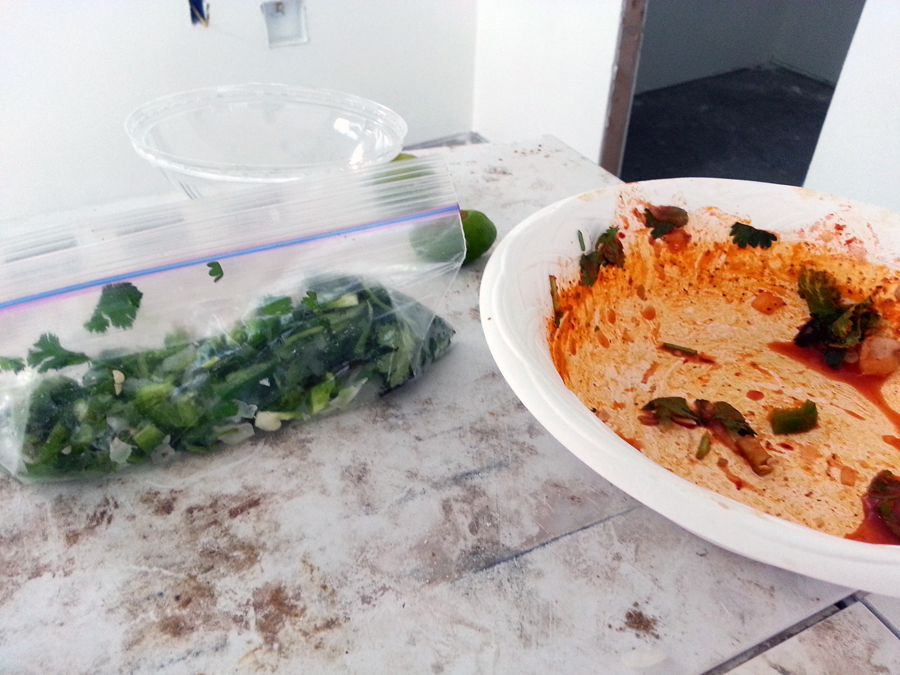
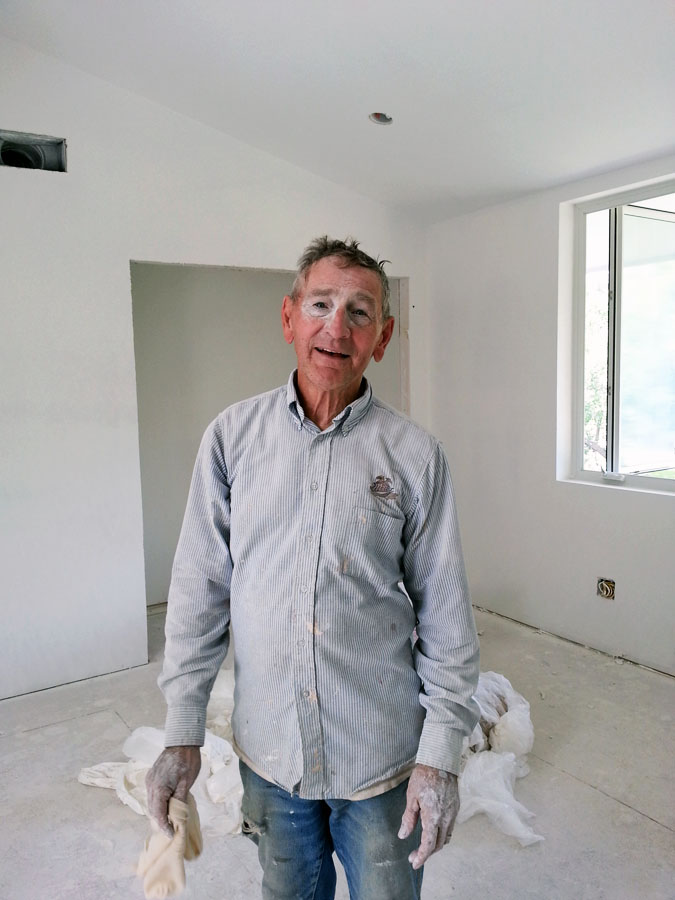
I didn’t realize it at the time, but based on the photos on my phone, we ate black lentils and carrots while we did this work. I’m taking this as proof of my greatest fear: I have a one-track mind and lack the ability to multitask. It’s a good thing I had neither the time nor the inclination to apply makeup during this part of the project because I was liable to walk away from the mirror looking like a Halloween costume.

20140711_115021

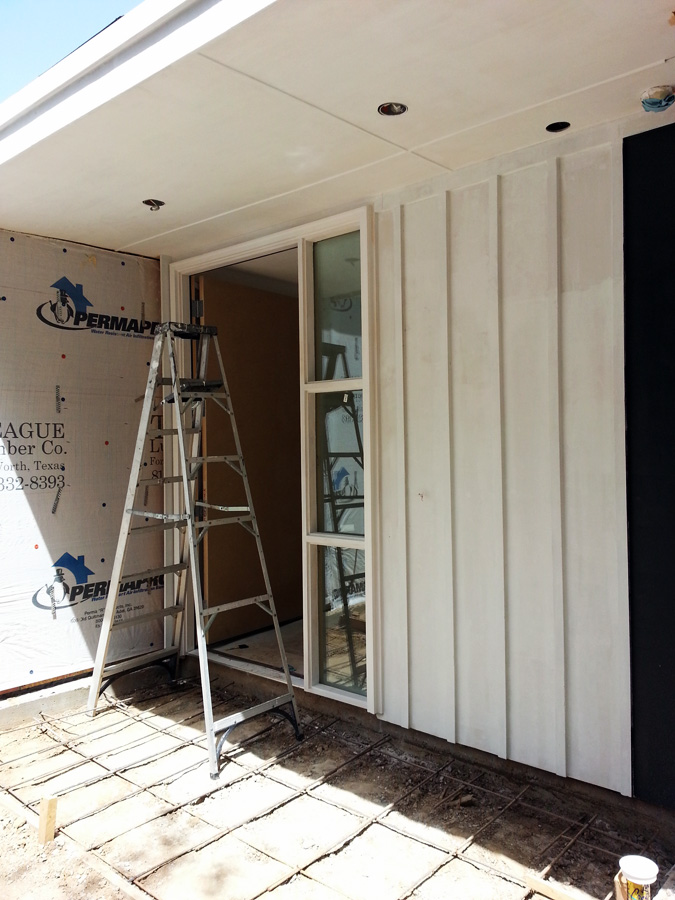
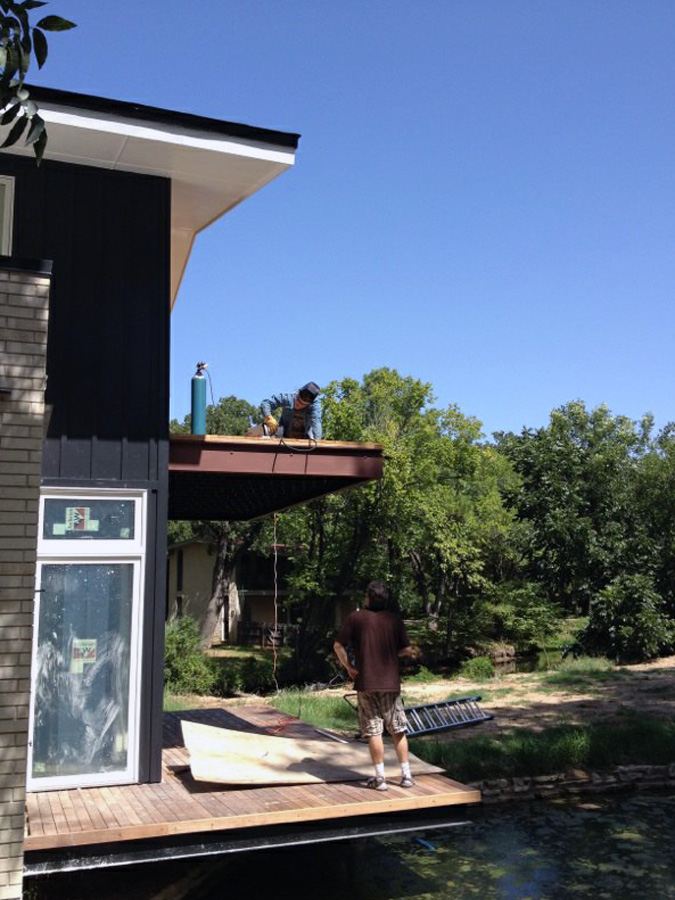
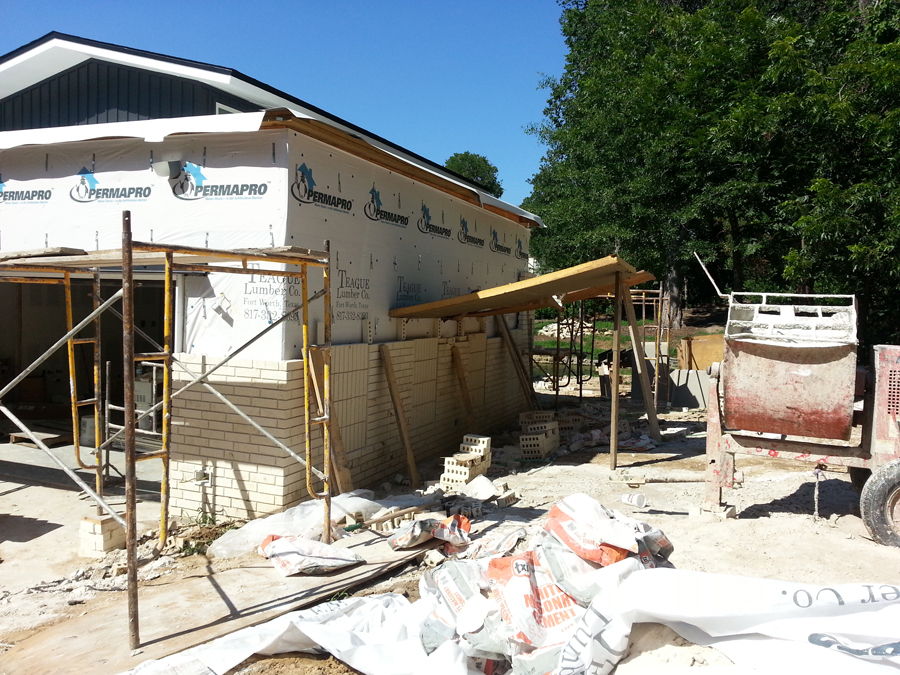
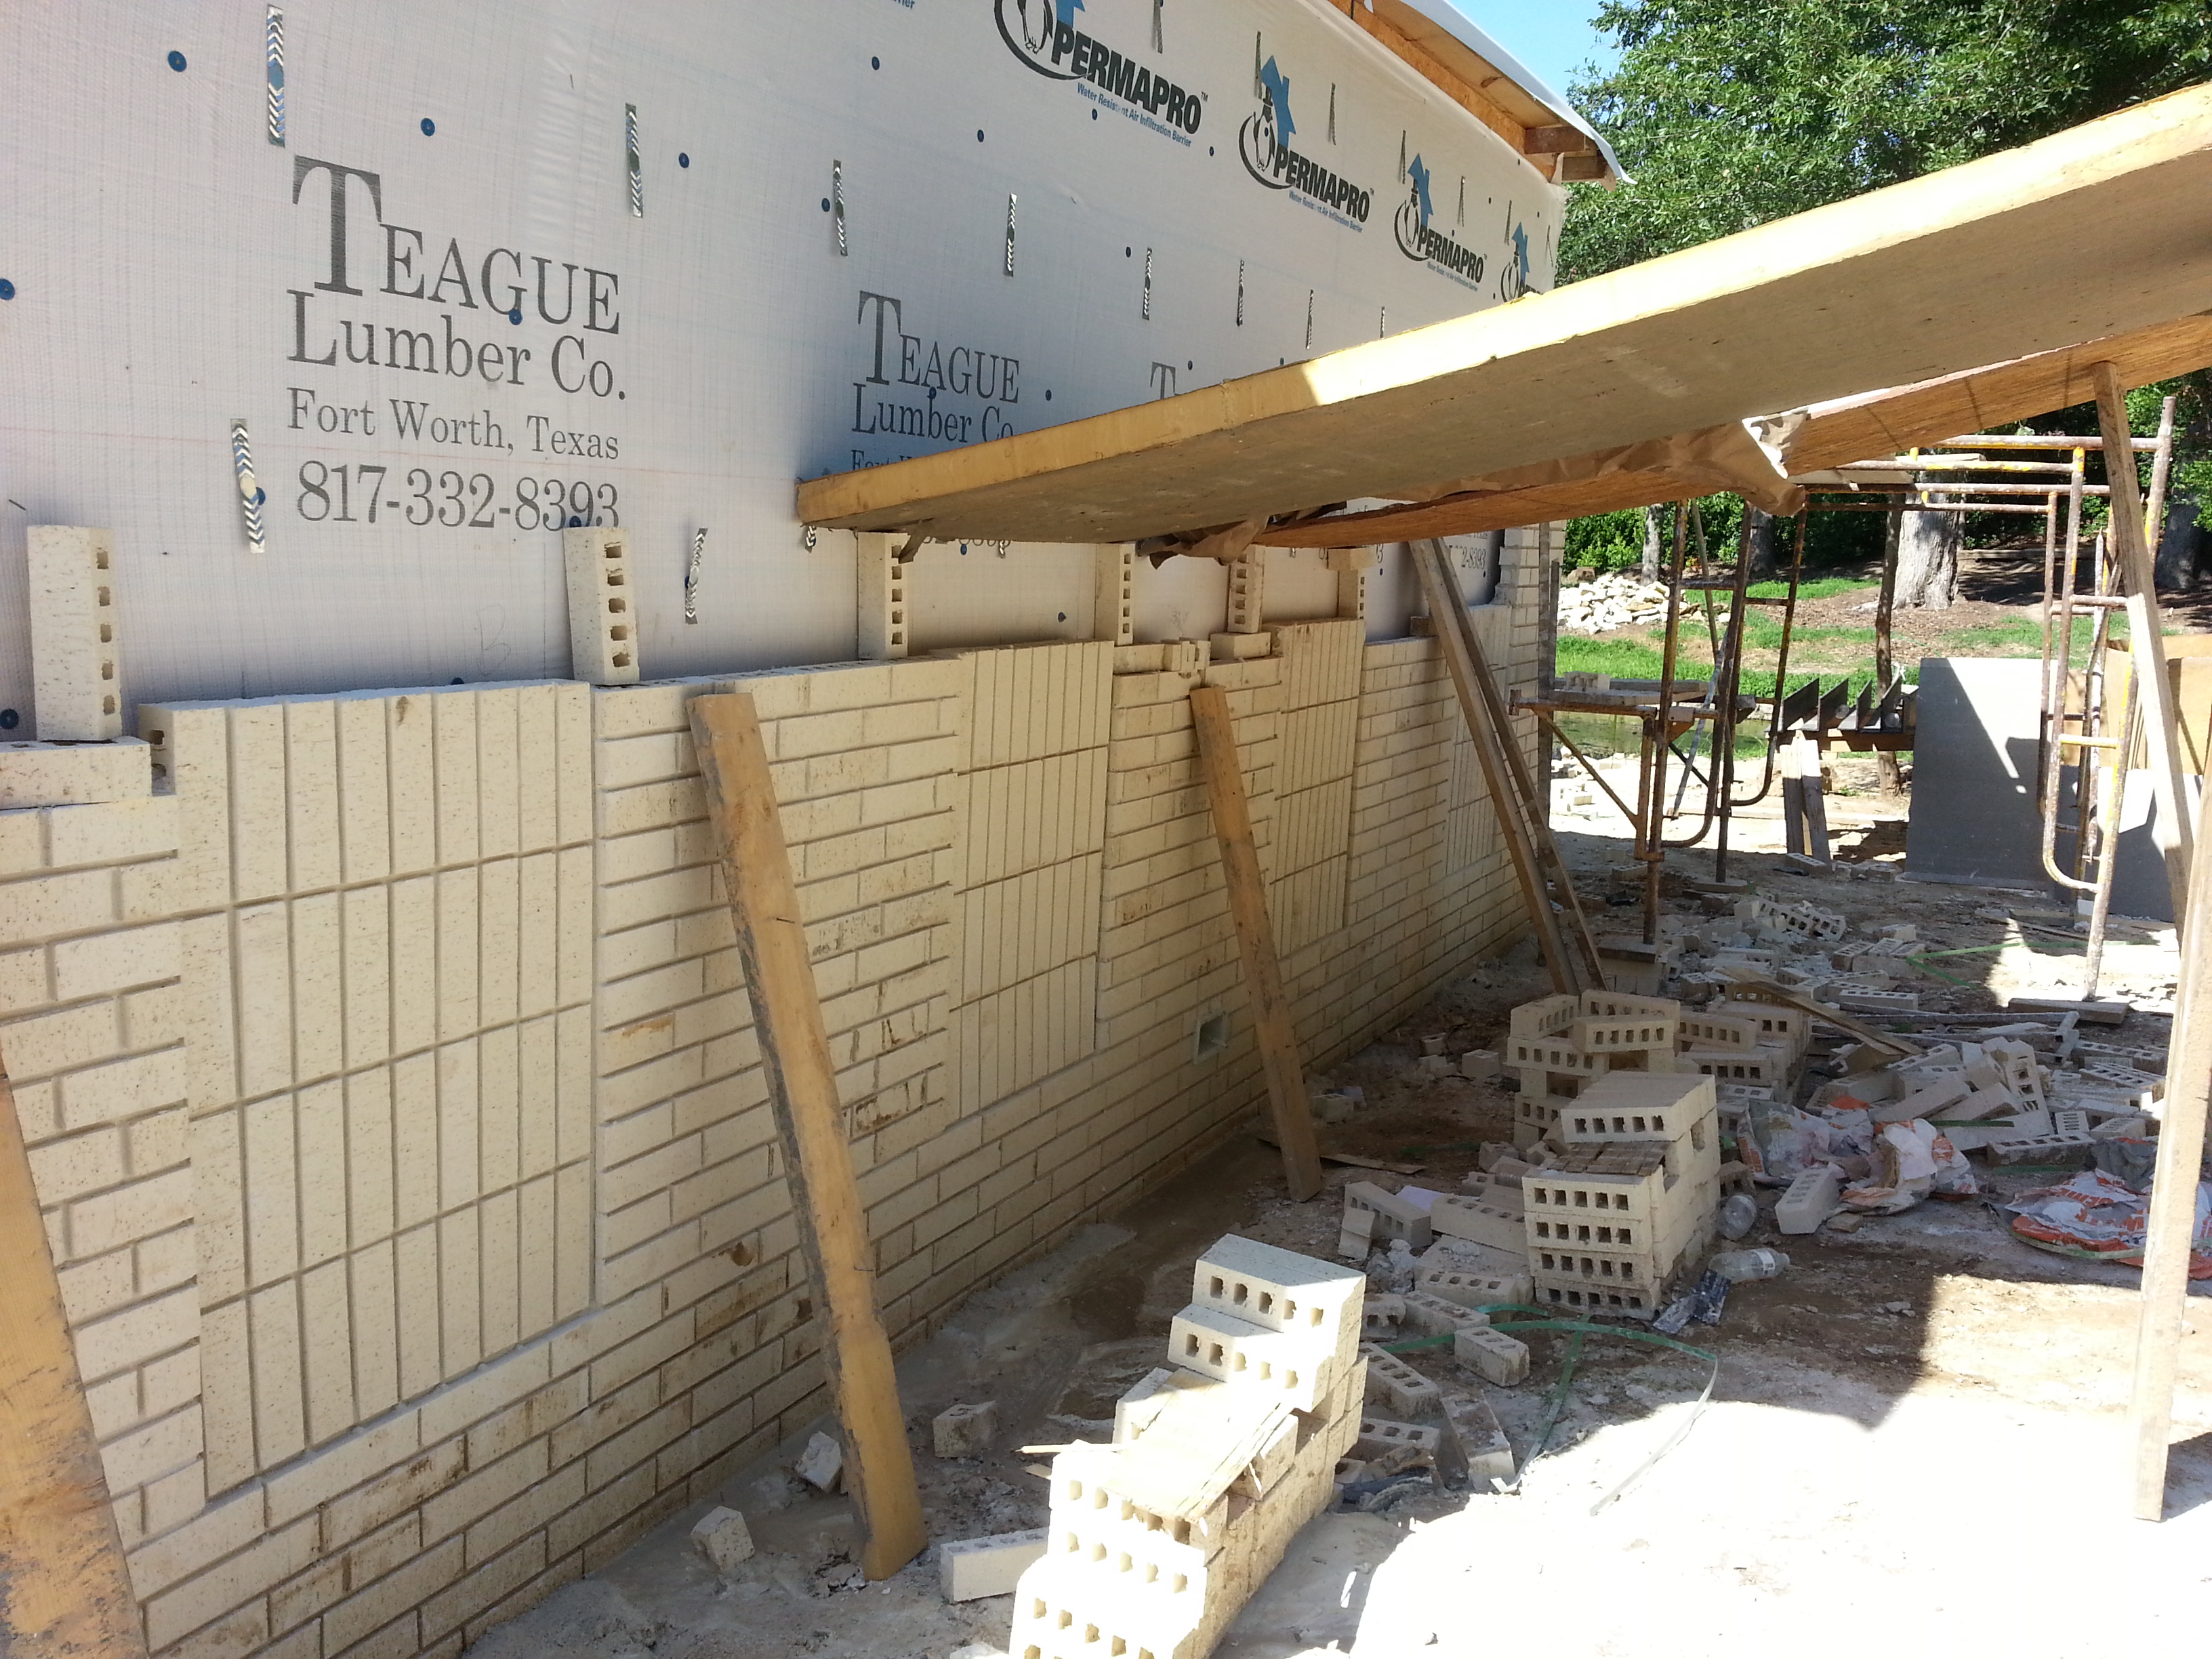
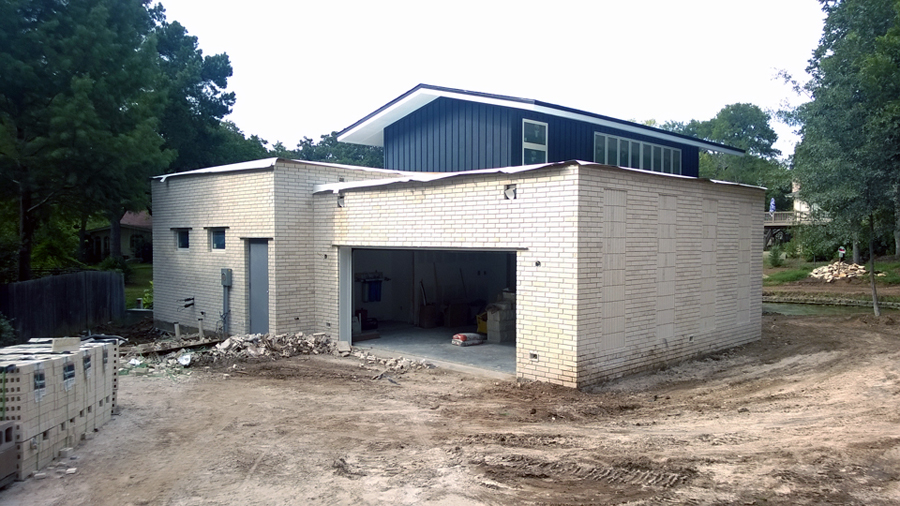
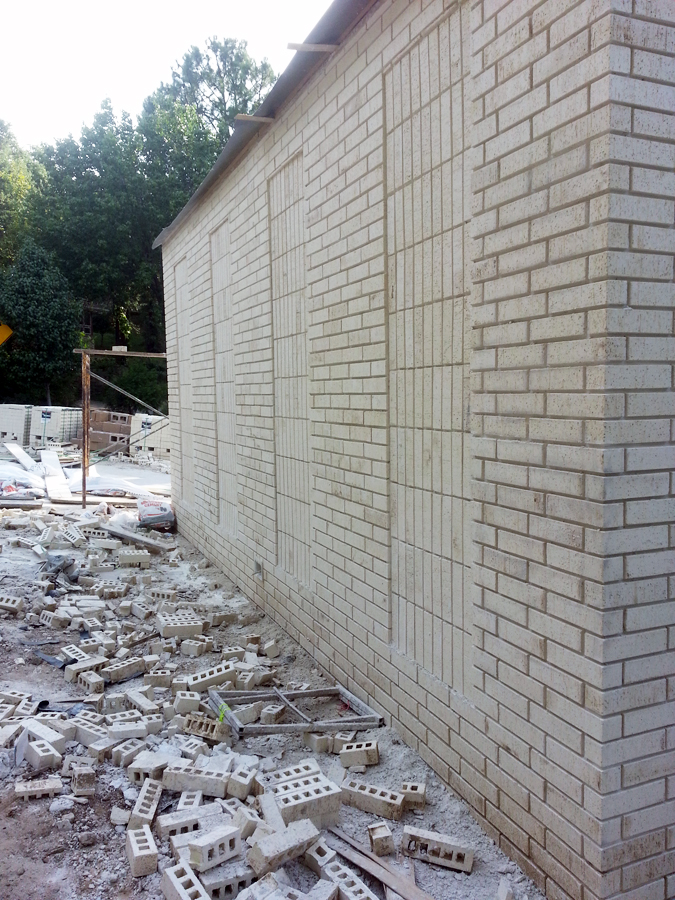
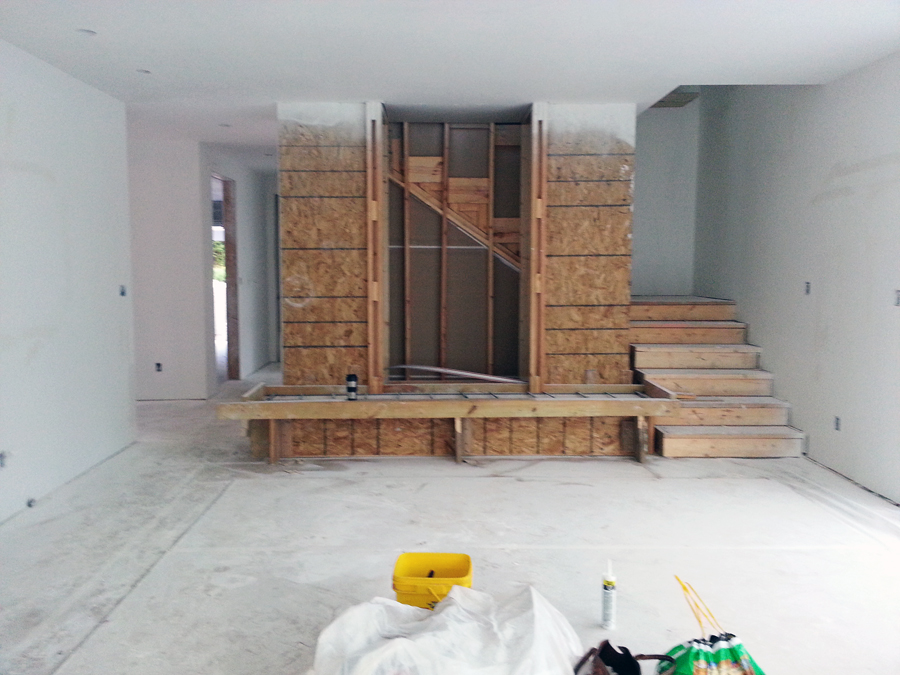
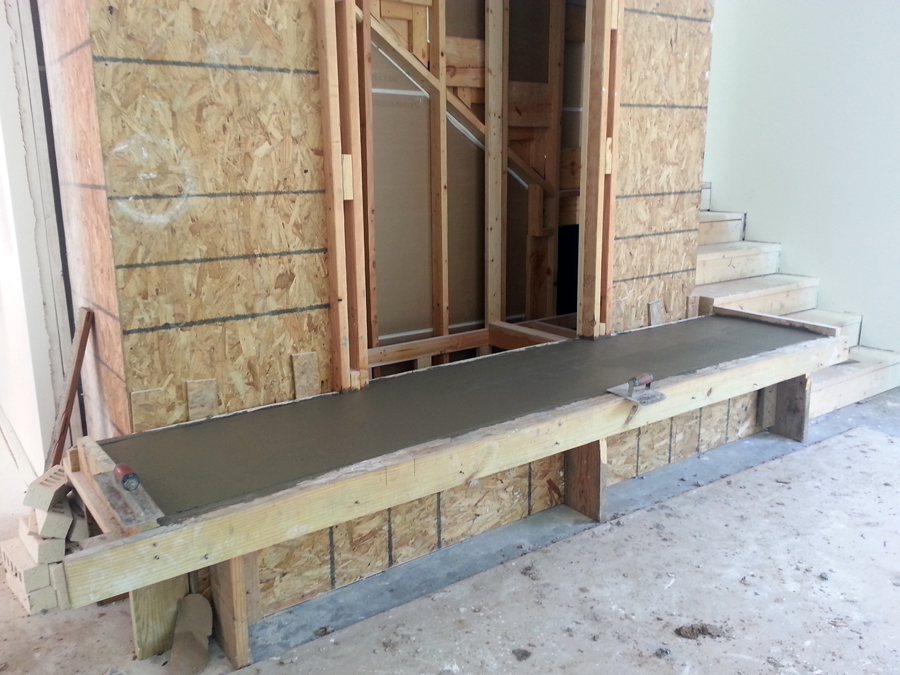
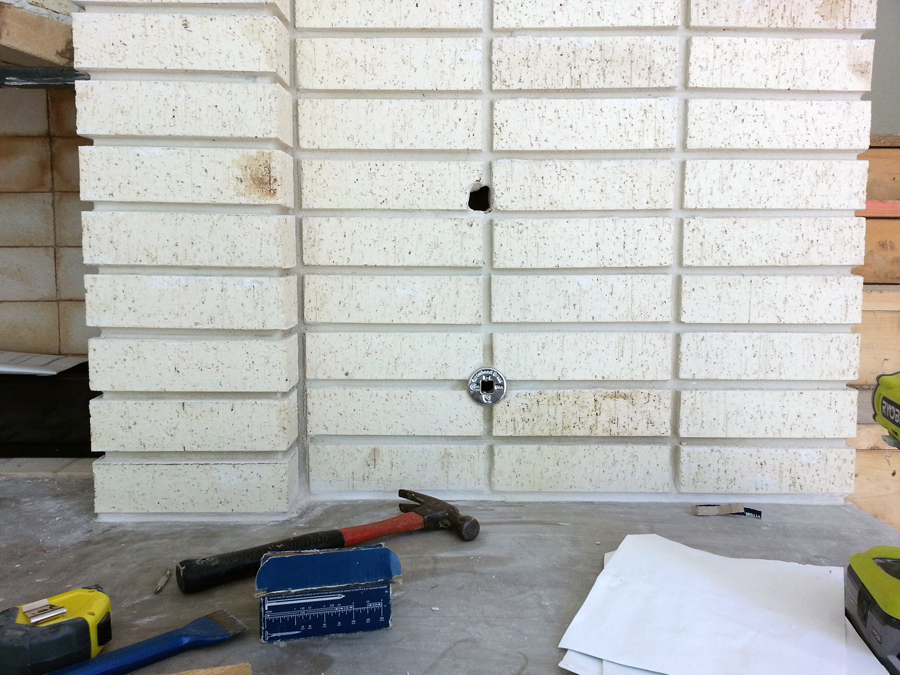
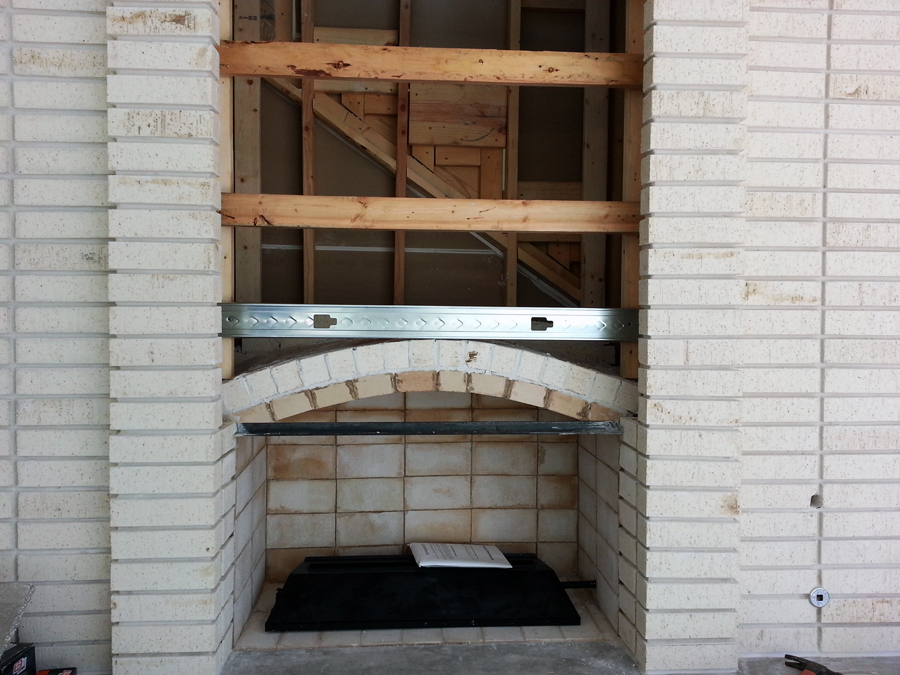
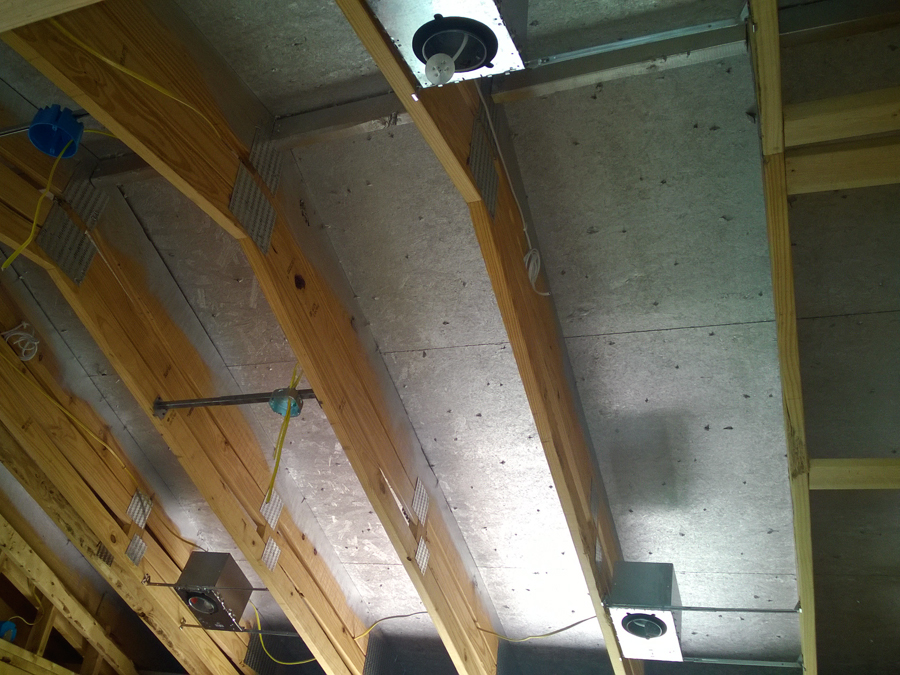
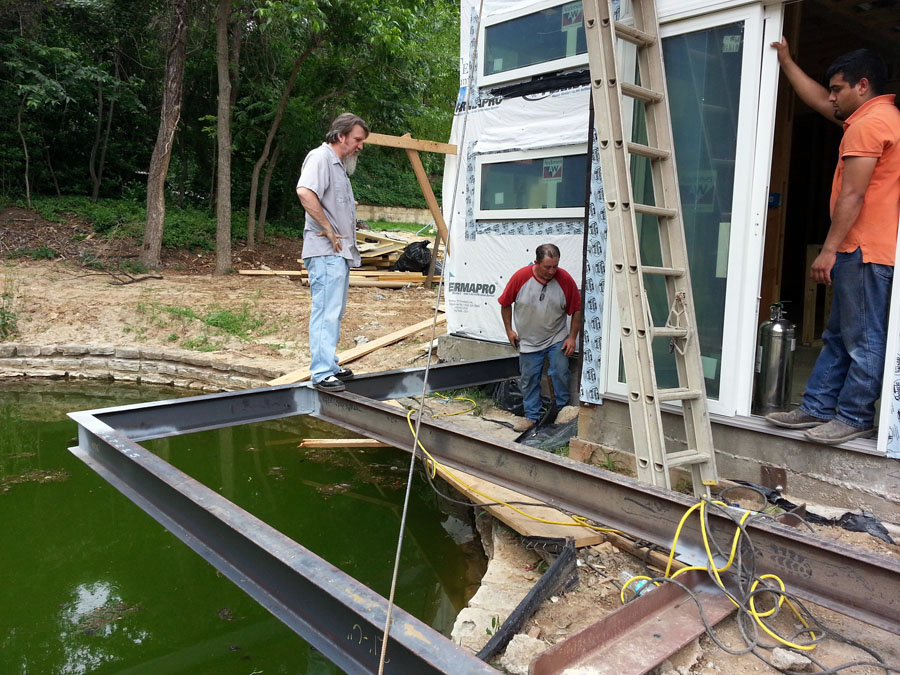
While we worked on the door, the bricklayers started their work. The concrete guys poured the front porch too, which was bittersweet for me: I was grateful for the smooth, solid surface because moving a large ladder between the woven rebar was a major pain in my ass, but I also hated to lose our fake Grauman’s Chinese Theater…

20140628_163331

…especially the little raccoon handprints.

20140628_163338

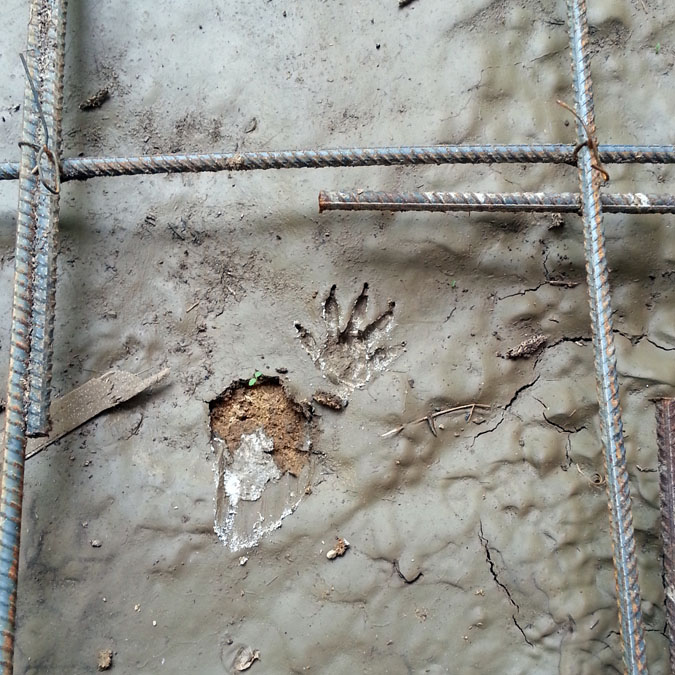
I think our little raccoon friend might be a distant cousin of Gregory Peck.

OLYMPUS DIGITAL CAMERA 
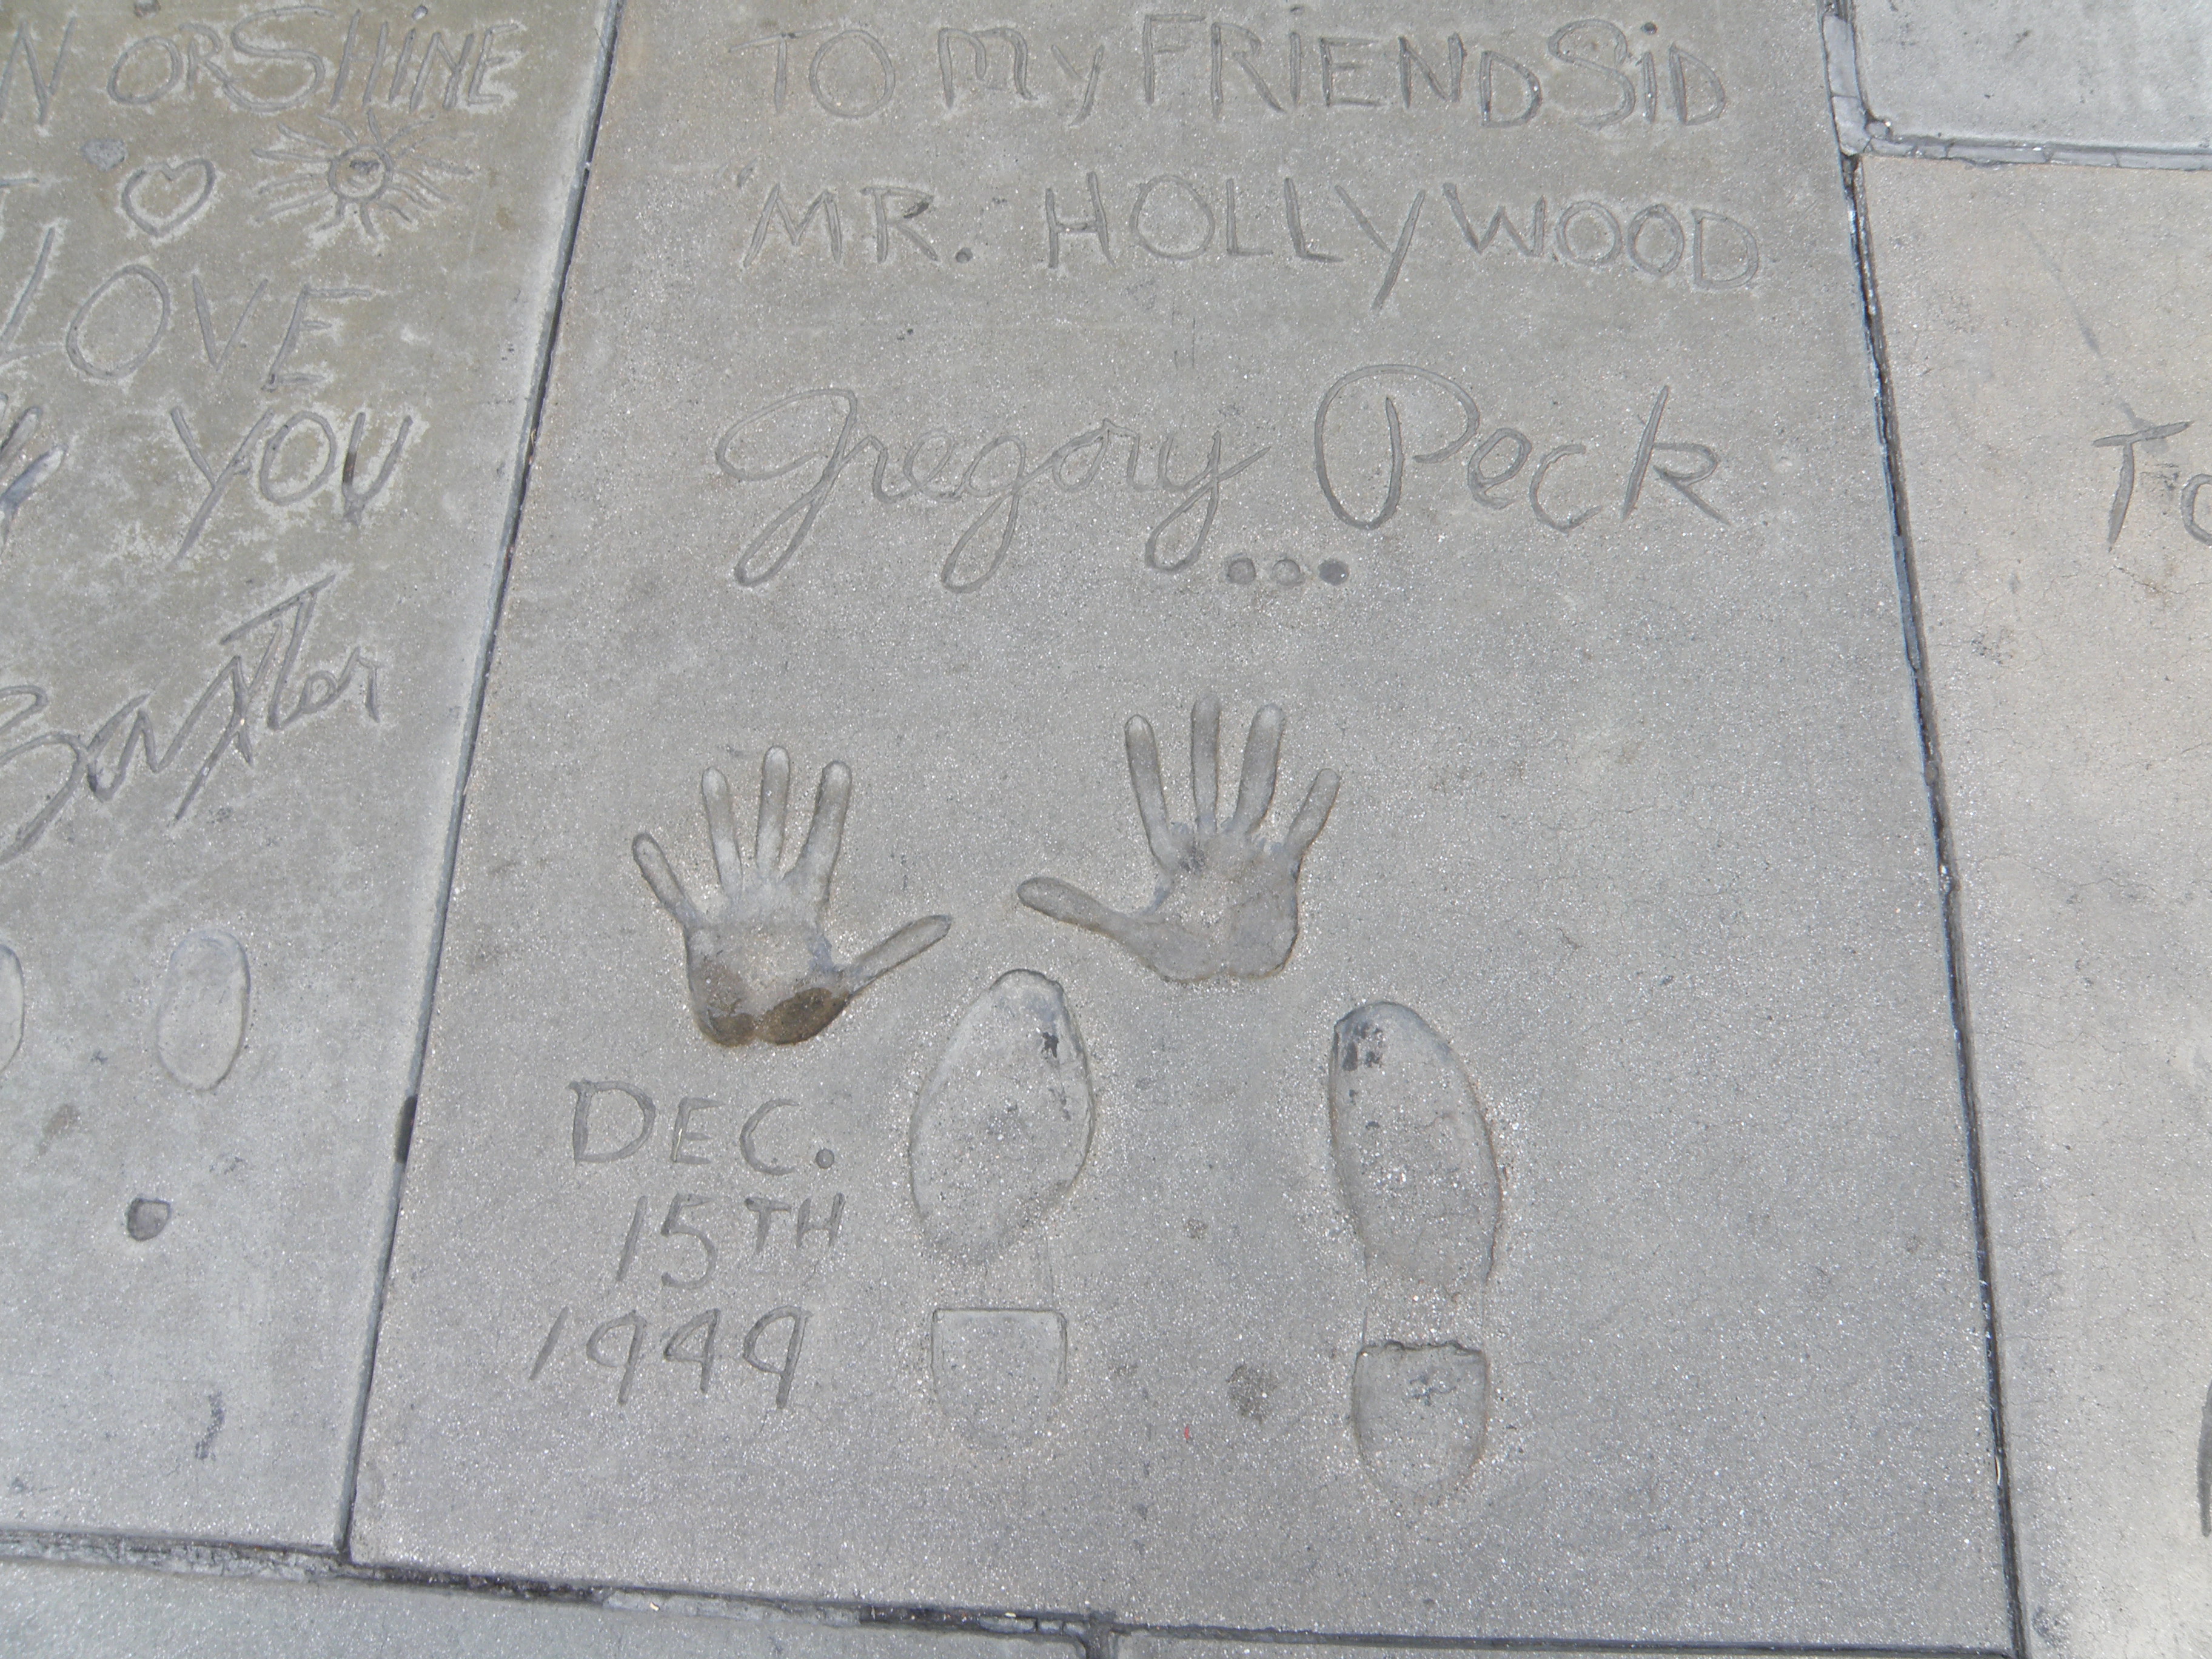
image courtesy of alexander cunningham’s flickr page

20140728_195950

20140728_201236

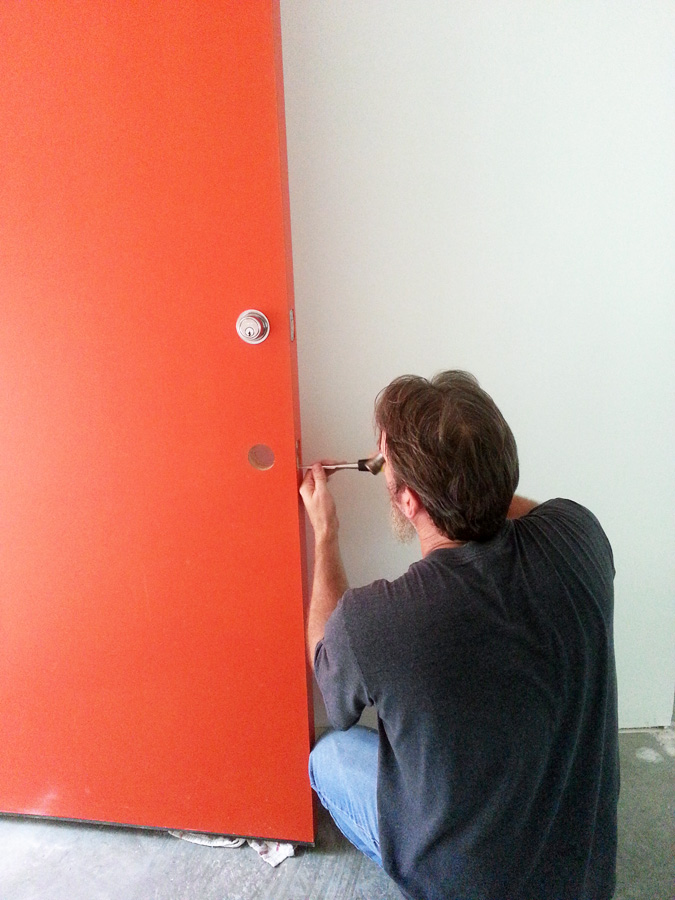
Mark installed the door handle and we promptly locked ourselves out of the house. Or at least we thought we did. Turns out we just didn’t know how to work the door knob. I blame the paint fumes. Don’t worry, we’ve got the ‘getting into the house’ thing down now. Push button garage door openers are a godsend.

20140728_184140

It was about this time that I realized I wasn’t happy with the white trim. The balance was off. It needed to be bolder. So out came the paint brush and the paint fumes again.

20150217_163334

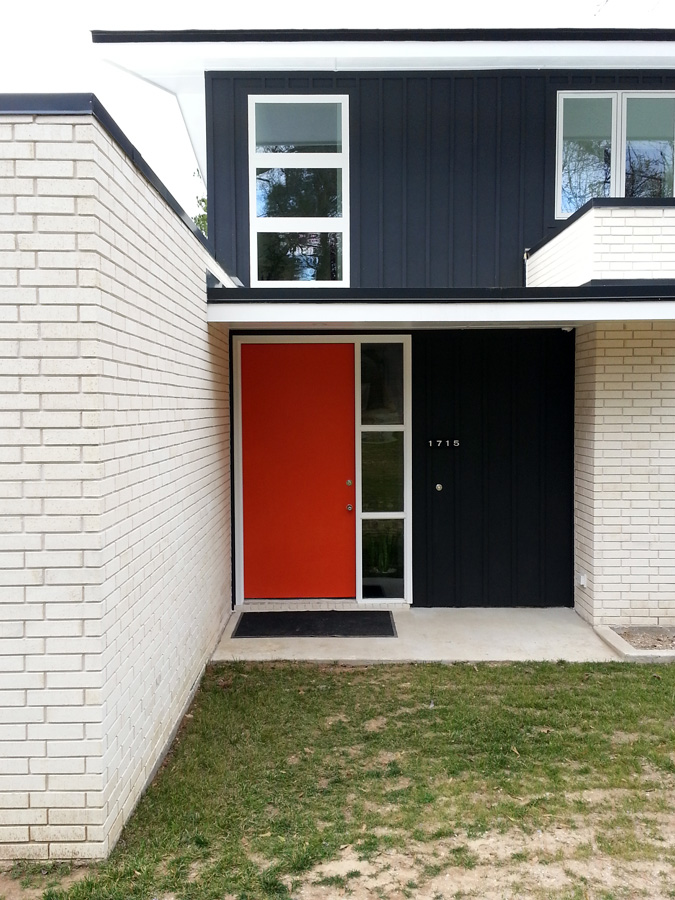
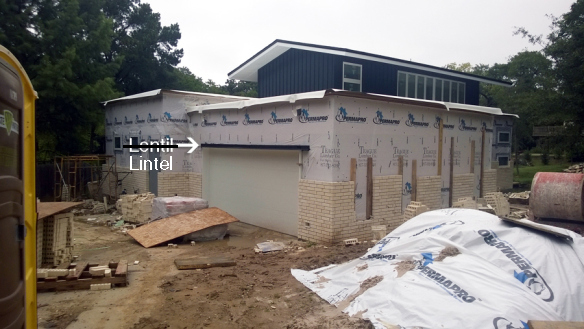
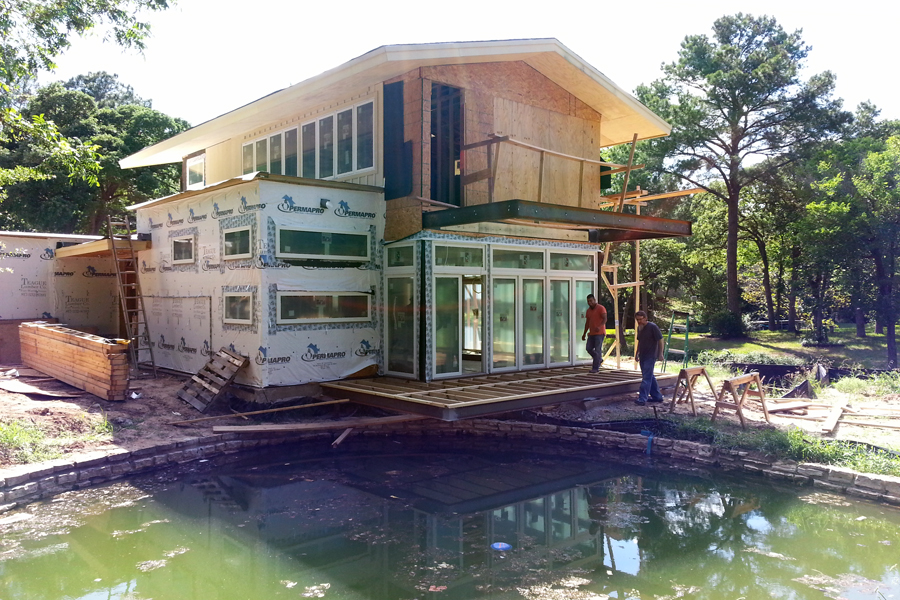
This is how the front door area looks today. It still needs work, namely another coat of Daredevil, a sweet starburst doorknob thingy*, a proper walkway from the street to the house, and some landscaping. Those things will have to wait until better weather or until our paint-addled brains fully recover, whichever comes first.
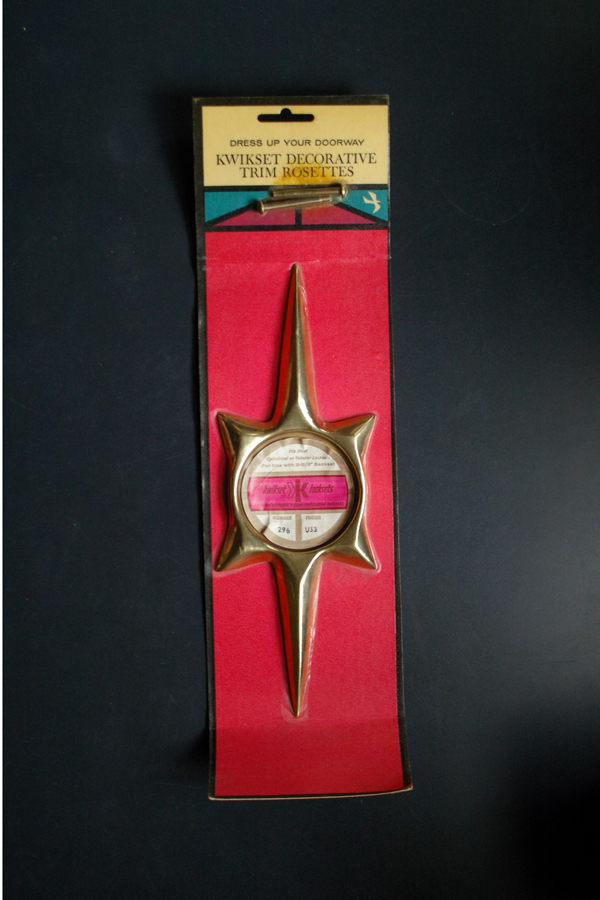
IMGP2026

*Doorknob thingy

We get by with a little help from our friends.

Technically it’s a lot of help from a lot of friends. A lot of family, too. We’ll talk about them all, but today’s spotlight is on a man with a very specific set of skills. Skills acquired over a very long career. Skills that make him a dream-come-true for people like us in a situation like this.

Clint Stapp can go from a hospital board meeting to deftly working his comedic chops at a raffle table during a homebrew competition. His number crunching skills are only rivaled by his mastery of culinary arts. He can climb a Jeep up the cliffs of the Moab desert as easily as he bikes to his neighborhood grocery store. But that’s not what we needed from him (well, the comedic chops bit came in handy since we were hot (we did most of the work in this post in late August), tired, and utterly worn out from this project – laughter is an exceptional salve). What we needed from Clint was his MIG welder and Darth Vader helmet. Several years ago Mark designed a bed and Clint welded it for us. His work is exceptional – just look at those smooth joints. We knew he was the person to help us with the balcony.

emma bed

For the curious, that’s Emma Louise, the only dog I know that won’t get out of bed before 1pm.

But before we could call Clint into action, we had to do some prep work…

20140719_090310

20140719_092542

20140719_091959

Painting the underside of the deck was far more painful and annoying than I expected. I hate painting ceilings – mostly because my arms are most comfortable at my sides or at the very most raising a cocktail glass to my lips – but the slats and nooks and crannies that make up the balcony put ceiling painting to shame. In my mind, this work was not so different from 15th century hang-a-prisoner-from-arm-shackles-above-his-head torture. There are no pictures of this work because other people were off on their own projects and I could not focus through the tears AND hold bags of ice on my shoulders. I’m not sure if he felt sorry for me or just wanted to shut me up, but Mark bought this brilliant tool and it made the work go so much faster:

61-fwA7PtUL._SL1500_image courtesy of amazon.com

A week’s worth of painting right there – pre-crevice tool.

20140724_164918

By the time I finished my work, Clint (seen here with his lovely bride, Dana, whose eyes are too beautiful to photograph) was ready to start his.

20140822_164912

20140822_113926

IMG_4531photo courtesy of Dana Stapp

IMG_2228photo courtesy of Dana Stapp

20140822_123116

First angle bracket permanently in place!

20140822_122806

It was a long day for Clint, who was nursing an injured foot, but it was a great day for us. We ended up with the foundation for a remarkably safe and secure balcony railing and the added bonus of catching up with good friends we hadn’t seen in eons. We can’t thank you enough Mr. and Mrs. Stapp!

IMG_6745 photo courtesy of Dana Stapp

After Clint finished his work, I picked up the paint brush again. Painting the steel around the balcony was a bit more comfortable than painting the underside, but it still had its issues. I won’t bore you with the details – instead, here’s a picture when I still had the semblance of a smile on my face.

20140826_171100

Fast forward through the gnashing of teeth and pulling of hair to this:

20140830_083735

It  looks so easy. Sigh…

Once I finished my work with the paint brush, Mark and his dad took over.

20140830_100951

The levels got a workout.

20140830_101043

My fear of heights got a workout too.

Untitled-1

20140830_102318

To tell the truth, my fear of heights is almost gone. I credit immersion therapy. And drinking (but NOT while you’re on a ladder!).

This part of the process was slow, but that’s just the way it should be – check, double-check, then check the bolts one more time.

They eventually made it all the way around the balcony, and then came the fun part…

20140830_110416

…railing!

20140830_111534

Then the not-so-fun part…tension cables.

20140830_164421

20140830_144027

Correction: Mark says it’s not that this part wasn’t fun, it was just tedious.

And voilà! The finished product!

WP_20140830_001

Here are a few more shots because she’s so pretty and I like to show her off.

20140830_173614

20140830_173654

20140830_173720

Now, instead of feeling the throes of vertigo when I step onto the balcony, I get the calm and comforting feeling of being in a playpen – but unlike a baby, I can hold a cocktail and watch the turtles from up there and fully appreciate how wonderful the thing on which I stand is. Also, a baby would never consider using “on which” so I’m definitely an adult. I feel I must make that clear because there were a lot of tears during the painting part of this project.

Up next (in a more timely manner, I hope) – the front door.

She’s Mighty Mighty

This post is at least a couple of months overdue. Things moved along at a brisk pace during this time and – much to my displeasure – sitting in an air-conditioned room on a soft chair in front of a computer screen wasn’t an option.

We spent nearly ten months staring at pallets of bricks. They were delivered in October 2013 – back when the whole team had optimistic thoughts about how quickly this house would go up.  We’re all older and wiser now.

Here are the bricks back when they were new and clean and hopeful (they do look hopeful, don’t they?).

bricks far

Unlike some of the crews before them, the brickmasons were marvelous.  Skilled laborers who showed up on time and worked their arses off in the heat – you can’t ask for more than that when building a house.

20140715_151928

They found ingenious ways to make shade – and let me tell you, it was needed. White brick + white sand + blazing hot white sun = blindness and heatstroke.

20140724_165230

20140724_165212

As an armchair anthropologist, I marveled at the way these men ate on-site. Unlike other groups of workers, there were no fast-food bags, no cold/stale leftovers, no generic box lunches. These men ate fresh and they ate well. Every single day.

20140717_170232

They had a workhorse of a microwave that went everywhere with them. If they were inside, it was inside.

20140717_164518

If they were outside, it was outside.

20140715_164005

If they were both in and out, it was in the garage.

20140723_160205

It survived more than one night in the rain too. It’s possible it was caked with magical supernatural goo to keep it running – I don’t know for sure because I was never brave enough to open the door.

We had no electricity at this time, so everything that required power, including the microwave, ran on a generator. The thing was obnoxiously loud and it’s a testament to the patience of our neighbors that we never received a noise complaint.

Avocado peels, lime wedges, tomatoes, and cilantro leaves littered the ground where they ate. BEST TRASH EVER!

20140716_190359

Bricklaying is messy work. I recommend thick-soled shoes.

20140724_144738

Working over the pond presented its own issues.

20140715_144158

How many bricks do you think ended up in the water?

20140716_170720

20140715_143800

All buildings with brick facades use a metal support beam called a lintel to run bricks across doorways, windows and other openings.

wp_20140717_17_07_08_pro
WP_20140730_17_39_30_Pro

They aren’t typically visible but the architect who designed this house decided to make ours a bit more prominent. This idea was great on paper – in the cool comfort of the builder’s office – but then we had to paint those bad boys with primer and black paint on some of the hottest days of this summer. I still bear the burn marks on my forearms from accidentally grazing the blazing hot metal. Side note – the lintels sat on-site for many months without any issue, but just a few days before installation someone decided to steal ‘em. Such is our luck.

20140712_124831

My brain started swelling from the heat so there are no pictures of the black paint, but believe you me, it went on right after the rust-colored primer.

20140712_124818

Here they are in place.

20140816_151859

IMGP2035

They look much better now that they’re clean and touched up by a professional painter, but you’ll have to wait for those pictures because I can only focus on one thing at a time since the whole ‘heat-swollen brain’ thing.

20140724_144709

20140816_134537

Mark requested a 1/3 running bond brick pattern for the house. If you’re clueless like me, here’s a handy visual tutorial on brick patterns (many thanks to http://www.triton.edu for this image).

bondsacademicstritondotedu

Mark decided a large brick wall featured prominently on the front of the house was not aesthetically pleasing so he designed four “soldiers” to guard the garage. Once again, I was clueless and would’ve never thought of turning the bricks to make a more interesting pattern. Our soldiers look great now, but I think they’ll be truly stunning with some landscaping and lighting in the future.

20140716_194657 - Copy

IMGP2033

The crew did a decent job of cleaning up after themselves, but I’m pretty sure bricks are like rabbits and multiply exponentially. We will never finish picking them all up.

20140728_184133

Jordan, our neighbor’s not-confined-in-a-fenced-yard dog, stopped by to inspect the brickmasons’ work. This visit was important enough for her to bring a friend – a pug my mother-in-law started calling Monsieur. I don’t know if it’s the dog’s real name or not, but it stuck. Now I find myself yelling “Monsieur! Go poop in your own yard!” regularly. Sometimes I use a fake French accent to keep things interesting. I really wish their owners wouldn’t let them roam. I worry for their safety.

20140718_170920

Mid-July rain caused a few delays and made maneuvering the site difficult. I may or may not have made “walk the plank” jokes in a ridiculously bad pirate voice around this time. My jokes may or may not have been ignored.

20140717_164347

20140717_170523

Here’s what it looked like after the brickmasons left, but before the roofers finished their work.

20140730_104635

Up next: the finished roof, the front door area, and the balcony! After that we’ll move on to posts about the inside.

Rainy Days and Mondays…*

I never expected to have to work around rain delays when we started this project. Partly because this project began two years ago – smack dab in the middle of one of the worst droughts in our state’s history – but also because, droughts aside, summer in Texas is not known for its rain showers.

I like to think this project got the attention of the weather gods and since they have silly, mischievous senses of humor the lakes around North Texas filled up a bit while they inflicted rain upon our little project. You’re welcome. For the record, we will not be able to help out during the next drought. This is it for us.

The last storms that affected us directly happened when we were painting the outside of the house. Mark took a week off from work and two full days of painting were lost to rain. He figured out a way to salvage the time by building the framework for the fireplace himself (relatively easy work since he’s the one who designed it). Take that, weather gods!

We still have much to do with the fireplace, but the pictures at the end of this post will give you a good idea of how this thing will look.

In the beginning – father-in-law cipherin’ measurements very early on Day One of Project: Fireplace.

20140612_072137

Then the fun stuff starts!

20140612_105338

20140612_112034

20140612_114917

Disclaimer: No fathers-in-law were hurt during this construction.

20140612_115954

Mark works out the depth of the columns (real world applications are sometimes different from CAD drawings).

20140612_132843

Building the structure vertically.

20140612_142021

20140612_141925

Inspecting the work at the end of Day One.

WP_20140612_15_16_15_Pro

Day Two – it gets wrapped in OSB (Oriented Strand Board – not Oriental Strand Board) for strength…

WP_20140613_15_12_48_Pro

…and Mark sorts out brick placement and the width of mortar joints.

20140622_134542

By this point, the rain let up and we were able to return to our paint buckets.

Several weeks later, sheetrock went up and the concrete guys built a frame for the hearth (they were also on-site to build frames for steps outside the sliding doors and the front porch – but we’ll talk about those things in a future post).

20140710_070613

A couple of weeks after that, they poured the concrete.

20140715_143701

Around this time, the brick masons started their work on the outside of the house. They, too, felt the wrath of the weather gods, so they, too, moved indoors to work on the fireplace during rain (it’s important to reiterate that this is JULY IN TEXAS).

20140717_164548

20140717_170438

Instead of a pre-made firebox, the brick masons custom-built one to Mark’s specifications. We lovingly referred to the fireplace as the ‘pizza oven’ during this phase.

WP_20140718_16_55_04_Pro

Once they finished the firebox, Mark started his work on the placement of the cement board to hold the tiles that will eventually be the focus of the fireplace.

20140720_154530

Right around this time the plumbers ran a line for gas.

Side conversation: No, we don’t plan to use wood logs in this thing. It’s meant for decorative purposes 98% of the time. The other 2% – Thanksgiving and Christmas – should not be spent cleaning soot and ashes. Yes, we love wood fires and plan to have a proper fire pit outside, where homemade marshmallows stuffed on the ends of twigs can melt into sticky, stringy globs and water from the cement pond can thoroughly douse any burning embers.

Back to the plumbers – Mark was not happy with the location they chose for the cut-off valve. Please note it is now both lower and centered squarely on the corners of the bricks. I could dedicate a whole post to OCD tendencies.

20140724_174745

In case you’re wondering: Yes, that’s dirt on those bricks. They sat on-site for eleven months. I think they’re pretty clean considering.

Here’s a peek inside. I call this its Mullet Phase – you know, business in the front/party in the back. If you’re curious, the brick masons used the busted up pieces for fortification purposes.

20140724_175037

Work on the cement board fittings continued as Mark and his dad added braces followed by the board.

20140724_175030

20140724_180531

The masons then covered the “party” brick with “business” brick, effectively killing any links to the mullet/pizza oven.

IMGP2048

Here’s how it looks today. There’s still a lot of work to do – namely, we must make the ceramic tiles to fill the center. I’m looking forward to that part because we’ll work with our dear friend Keith Thomson from the Firehouse Gallery. We own some of his work already, but I like the idea that he will be a permanent part of this home.

IMGP2043

In closing, I give Mark my most heartfelt thanks for his infinite patience as I vacillated between we-must-have-a-mantle(!) and do-we-really-need-a-mantle(?!) exactly twenty times a day for the past fourteen months. The man is a saint.

* Blatant use of a Carpenters song seemed appropriate for this carpentry-heavy post.

Deck, Part Deux

The last time this blog visited this deck, it looked something like this:

WP_20140615_08_33_25_Pro

Mark took two weeks off recently. That’s in addition to the week he took off when we painted the outside. He has a ridiculous amount of vacation (that’s one of the reasons we thought we could tackle such an ambitious project).

He spent Week One on the deck while the crew installed sheetrock, taped, and textured inside. He spent Week Two painting indoors, but you’ve already seen that.

Here’s Day One of Deck Work. A lot of prep happened before they laid the first board. Mark wanted a specific type of wood and he didn’t want to see screws. Those stipulations turned a 2-day project into a full week’s worth of work. It was worth it, though. The thing is gorgeous.

20140628_153712Side note: We all have well-earned farmers’ tans now.

In the picture below, Mark shows us how to use the biscuit joiner.

20140628_153541

You make a small incision in the side of the board then insert a clip and nailed it to the joist. The board next to it gets an incision too and it’s pushed onto the clip that’s already nailed in. They say a picture is worth a thousand words:

20140629_165033

This process is both painful and time consuming, but it results in a surface free of visible screws or nails, which makes Mark happy.

Mini-conference – most likely regarding the length of the next board.
20140628_153506

The part of the deck you see in the picture above was easy peasy work. Sure, it was a pain to high step over all those joists – many a shin scar earned here – but compared to working on the section over the water this was a cakewalk.

20140628_162108

See, using the ground as leverage to get the boards in tight on the ‘land side’ was good.

20140629_163851

Doing the same thing over the water – not so good.

20140629_165952

They made their way, slowly but surely.

20140630_143621

WP_20140702_001

The Cement Pond god requested sacrifices so we offered up a couple of tools. Not sure what harm he could have inflicted upon us if we chose not to contribute to his cause, but better safe than sorry, right? (I’m really curious to see what turns up when we do a proper draining and cleaning of this thing…at least thirty years, or four feet, of muck in the bottom should make for a fun archaeological dig.)

20140701_112235

This little part of the deck was trickier than I ever imagined.

WP_20140703_002

While taking a break from deck work, father-in-law spotted a large soft shell turtle digging a nest on the “lake” side of the property. She spotted him at the same time and her attempt to quickly and gracefully high tail it outta there failed as she slid down the bank and landed on her back in a couple of inches of water. Fortunately, one of the deck planks was long enough for Mark to reach her and flip her over without having to get too close. Since Mark saved her life, I told him he earned naming rights. So everyone, meet Cat the Turtle (or more specifically, Cat the Turtle’s belly – or, if you want the anatomically correct word, her plastron). I’m hopeful this experience didn’t mess up her egg laying process. I plan to keep an eye out for her kittens in a couple of months. Had I been on hand for this li’l adventure, you would see pictures of the rescue itself. Instead, you just get this:

WP_20140702_09_55_58_Pro

Back to the deck – who knew walking on a solid surface could bring such joy?

WP_20140703_003

Once they attached the trim pieces the next phase of this project started – painting the structural steel to help protect it from the elements and to make it look pretty. Although, if we do our job right it won’t really look pretty, it’ll just disappear.

First we cleaned the metal, then Mark ground down nails used to hold the joists in place then came the primer. This is nasty stuff and I apologized to every minnow that thought a tiny drip was an insect landing on the water.

20140706_192055

I have a newfound appreciation of the men and women who paint bridges. This is not easy work.

My arms were too tired to snap an action shot of the final coat of black paint going on, but here’s a good before and after:

nail grind

Even though it’s nasty stuff, we’re quite happy with Rust-Oleum® industrial strength rusty metal primer – specifically, the way it adhered to the steel. Fingers crossed it holds up well because I do not want to paint this thing again.

But that’s not all!

Work began immediately on the balcony. Fortunately, Mark’s stringent wood and screw requirements didn’t cover the upper deck so this work went remarkably fast.

This is how we worked on the balcony before:

20140608_142305

If you look closely at the picture above, you can see father-in-law’s hand while he caulked the board and batten. I took this photo during one of my ‘spells’ – which is just code for taking a break, lying flat on my back and staring up at the sky for a while. I’m not cut out for the work of a day laborer.

This is how it looks today. Yes, railing is planned. We’re not crazy.

20140705_115645

It’s so much easier to work out there now!

20140719_090310

Here’s the view from another spell.

20140705_131058

The team who put the joists in place made a few placement mistakes, so Mark used the grinder to smooth the holes and his dad filled ‘em in with Bondo®. Once I painted the beam with primer, it’s practically impossible to see where they were.

20140707_114759

20140724_145011

I’m confident it’ll look even better with the final coat of paint. There’s a lot more work to do – most importantly, welding pieces meant to attach the upper balcony railing. We have a special guest star for that job, so check back in a couple of weeks to see how things turn out.

Then we must finish painting the underside of the balcony and stain/seal the wood on top too. Finally, we will sand and oil the ipe on the deck below but that won’t happen until the brick masons finish their work.

In the meantime, I leave you with a picture taken yesterday:
20140724_164951

One tiny step at a time.

Neither Rust-Oleum® nor Bondo® sponsored this post but we give ’em both our seal of approval.

Insulation, Sheetrock, and Beer Bellies

A lot has happened in the last few weeks!

For many months the walls looked like this:

20140616_072502

The framers constructed the exterior walls with both normal vertical supports and these great little horizontal pieces (we’re not 100% sure, but I think the horizontal ‘studs’ are there for fire retardation…building code stuff).

Regardless of the reason they’re there, we grew to love those useful little nooks.

20140614_075324

We loved them so much we added more of our own. Here’s Mark building shower niches into the wall.

20140618_171902

When someone said, “The bug spray is in the medicine cabinet” we knew just where to go. For a long time it felt as if we had moved in. Who needs proper walls? Who needs electricity? Who needs running water when we have all these bottles of the stuff (and a port-a-potty)?

20140612_110506

Homebuilding, the way we’re doing it, will make you crazy. Specifically, this definition of schizophrenia: emotional blunting, intellectual deterioration, social isolation, disorganized speech and behavior, delusions, and hallucinations.

Delusions ran high at this point.

(Disorganized speech comes later – don’t worry, you’ll get to read about that too. I expect to be in full hallucination mode by the time this thing is finished. Social isolation is the worst though. We miss seeing our friends. )

Then insulators did their thing and we were snapped back into reality.

20140618_170018

The crew sprayed a radiant barrier on the interior upstairs roof and it dropped the temperature immediately. Radiant barriers rock.

WP_20140615_16_25_43_Pro

A member of our team had a bit of food poisoning, but carried on like a trooper regardless. Pepto-Bismol® and traditional insulation are practically the same color. It took an hour to find those tablets.

20140618_173906

We insulated the garage ourselves. I’ve never lived in a house with a properly functioning garage. I am all sorts of excited about this thing.

20140622_145039

In the meantime, the sheetrock arrived…

20140616_175313

20140616_191621

…and it went up.

20140626_164219

20140626_165558

20140626_170053

20140626_170110

Well, a lot of it went up – a lot went down too. This is very messy work, folks.

20140626_164803

There are no pictures of the taping & bedding process. Mostly because finishing the deck consumed our attention while they did their thang, but also because they were incredibly large, half-naked men on stilts (thankfully it was the top half). Unlike some other tradesmen who shall remain nameless, these guys always showed up on time and they did a great job. After they wrapped up their work, I realized how much I miss their falsetto sing-alongs with techno mariachi music. It’s a quieter and less interesting place without them. I do not, however, miss the sweaty, naked beer bellies at eye level.

Next up, the texture guy – who remained fully clothed the whole time. He had his work cut out for him because we paid for completely smooth walls. It might not seem obvious at first, but the smoother the wall, the more work is involved. Texture covers up a multitude of sins.

By this point, we finished the deck and were ready to start our next job – painting inside. The texture guy was a fountain of knowledge and we’re grateful he shared some of it with us. For example, who knew buying plastic sheeting and tape at Kelly Moore was considerably cheaper ($11) than The Home Depot or Lowes ($25) for the same products?

20140707_200242

And he gave us a tutorial on how to make quick work of prepping.

20140707_152344

I don’t want to relive the nightmare of our first round of paint (it soaked straight into the walls, gallon after gallon after five gallon bucket – who knew painting new construction would be such a freakin’ headache?), so I’ll just skip right to the fun pictures.

Father-in-law worked the paint sprayer in about fifteen layers of clothes on a 100 degree Fahrenheit day. God bless that man.

20140709_111840

Gunfight in the hall.

20140712_091729

Teamwork.

20140712_094840

Still smiling (and looking ridiculously cute) at the end of a long day. We’re so fortunate to have this man on our team.

20140709_112222

It’s coming along. Slowly but surely.

20140614_075050

20140626_164526

20140714_112343

All Hands on Deck

In September 2013 , I posted a little note chock-full of foul language after we discovered the survey company got their measurements wrong* and our new home was to be built practically on top of the spring – not four feet away from the spring as intended. Fast forward nine months and here’s our solution.

It’s not quite finished because we’re waiting for the lumber to acclimate itself to the environment before it’s installed, but this will give you a good idea of how the thing will look.

Steel beams delivered.

20140521_162729

Steel beams welded in place.

20140523_154838

The beams are secured to the side of the house and (if I remember correctly) 4′ deep concrete pads.

20140523_155749

20140523_155805

Extra fun working conditions for David (in red) and Ruben (in orange).

20140523_161037

WP_20140523_16_35_15_Pro-1

Looking down at the deck from the second floor (my intense fear of heights is less than my desire to catch a cool breeze and that doorway on the second floor is – by far – the best place to cool off).

20140525_170801

20140530_163410

20140531_185754

20140530_163803

20140530_163917

A view from inside.

20140530_164346

We unloaded the wood for the top of the deck by hand.

20140523_154125

It doesn’t look like much, but that’s 1684 lbs of ipe (also known as Brazilian walnut or ironwood). David and Ruben helped us unload it from the truck and even with their help I thought I might die under the weight of that stuff. Then, several days later, Mark and I moved the whole stack outside ourselves and I actually died. It might’ve just been a fit, not actual death – I have no idea because I blacked out after the last piece was moved. Have you seen these arms? They’re not designed to carry much more than a large bottle of gin…or maybe a small dog.

20140524_130209

20140530_164625

All that heavy lifting will be worth it after this thing is finished, right?

*It seems we’re not the only ones with survey problems – here’s a story about a home in Rhode Island that was accidentally built inside the lines of a state park. Their 4 ½ acre mistake makes our 4’ issue seem like nothing. http://www.aol.com/article/2014/06/18/why-a-million-dollar-rhode-island-mansion-must-go/20915250/

The Good, The Bad, and The Ugly

The Good

They installed the windows several weeks ago. It’s difficult to get a decent picture of them. Perhaps taking panoramic shots on a phone’s camera with shaky arms after a long day of physical labor isn’t best. Still, this will give you a general idea of how things look:

20140523_162335

20140515_175534

See the protective film on the windows? I will use a rudimentary knife fashioned from a flat head screwdriver to shank the person who tries to pull that film off before I get to it. Some people do bubble wrap. I peel film. It must stay on until the drywall is up and everything is painted. It’s killing me.

Continue reading

The Mystery of the Upstairs Siding

As might be expected, this project has infiltrated my dreams. The surprising part is how long it took to figure out the dreams were about the house. This week’s subconscious nocturnal adventures included special guest stars The Hardy Boys. Those of us who grew up with a steady diet of Nancy Drew and Trixie Belden know the boys as periphery players – something to read only if the Drew/Belden shelves at the library were empty. Why the starring role now? That’s a good question for a detective! The first clue is this stuff:

siding

Our meetings with the architect originally focused on very modern designs. The first images in this website feature a house down the street from us: Studio Mud. This house attracted us to the neighborhood and it’s precisely what we expected to build. Then we spent more time at the land and we realized a Dwell-style home wasn’t the best fit. The house down the street works so well because it’s cantilevered from a hill, it’s surrounded by tree tops and it’s mostly hidden from the street. Our little plot of earth is flat, half of it is devoid of trees and the house is in full view of everyone who drives by.

Nov 20 panoramic

After careful thought we changed direction – not a full 180 degree turn, but a fairly wide veer that honors the history of the neighborhood. It’s an eclectic street, with at least one home from each of the last six decades, but its soul is mid-century and that’s where we decided to focus the design. In a future post, I’ll take time to discuss how the architect took two very different styles – today’s super modern and 1950’s modern – and blended them into something we think works well, but for the sake of brevity we need to focus on the siding. As soon as we switched gears to the mid-century vibe we knew siding would be involved; specifically a style called board-and-batten. Around this time I had many dreams about playing very intense games of badminton. Oddly wired brain, clue number two.

I’ve learned that words are very important on a building project. For example, if you refer to bendy doors people will look at you as if you have a mild form of mental retardation. Say bi-fold doors and the proverbial doors of communication open wide and people start treating you like a functioning adult.

image21

In case you’re interested, we are not using any form of folding door – bendy or otherwise. Those things are ridiculously expensive and the only purpose they serve in Texas is to allow mosquitoes the size of small cars inside.

Over the last week, the house has really taken shape. Roofs are up, some windows are in, and they delivered the hardie board used to make our board-and-badminton batton siding. It turns out it’s not the hearty board I’ve been erroneously referring to all these months. Not familiar with the stuff? Here’s some information: Pros and Cons of Hardie Board

Closed:The Case of How Hardie Board Siding Morphed into Hardy Boy Dreams

Check back next week when we attempt to solve The Mystery of the Missing Plumber. (Actually, we found him…in a hospital, but that’s a story for another time.)

il_570xN.592066268_4w6d

Here’s your chance to learn how to solve mysteries like the pros! This handy detective handbook is only ten bucks! Find it here.