
Warning: The following post contains graphic imaginary images of blood, sweat, tears, and an amputation. Luckily for you, I find it impossible to cry and focus a camera at the same time so you don’t have to see the saddest or most gruesome stuff.
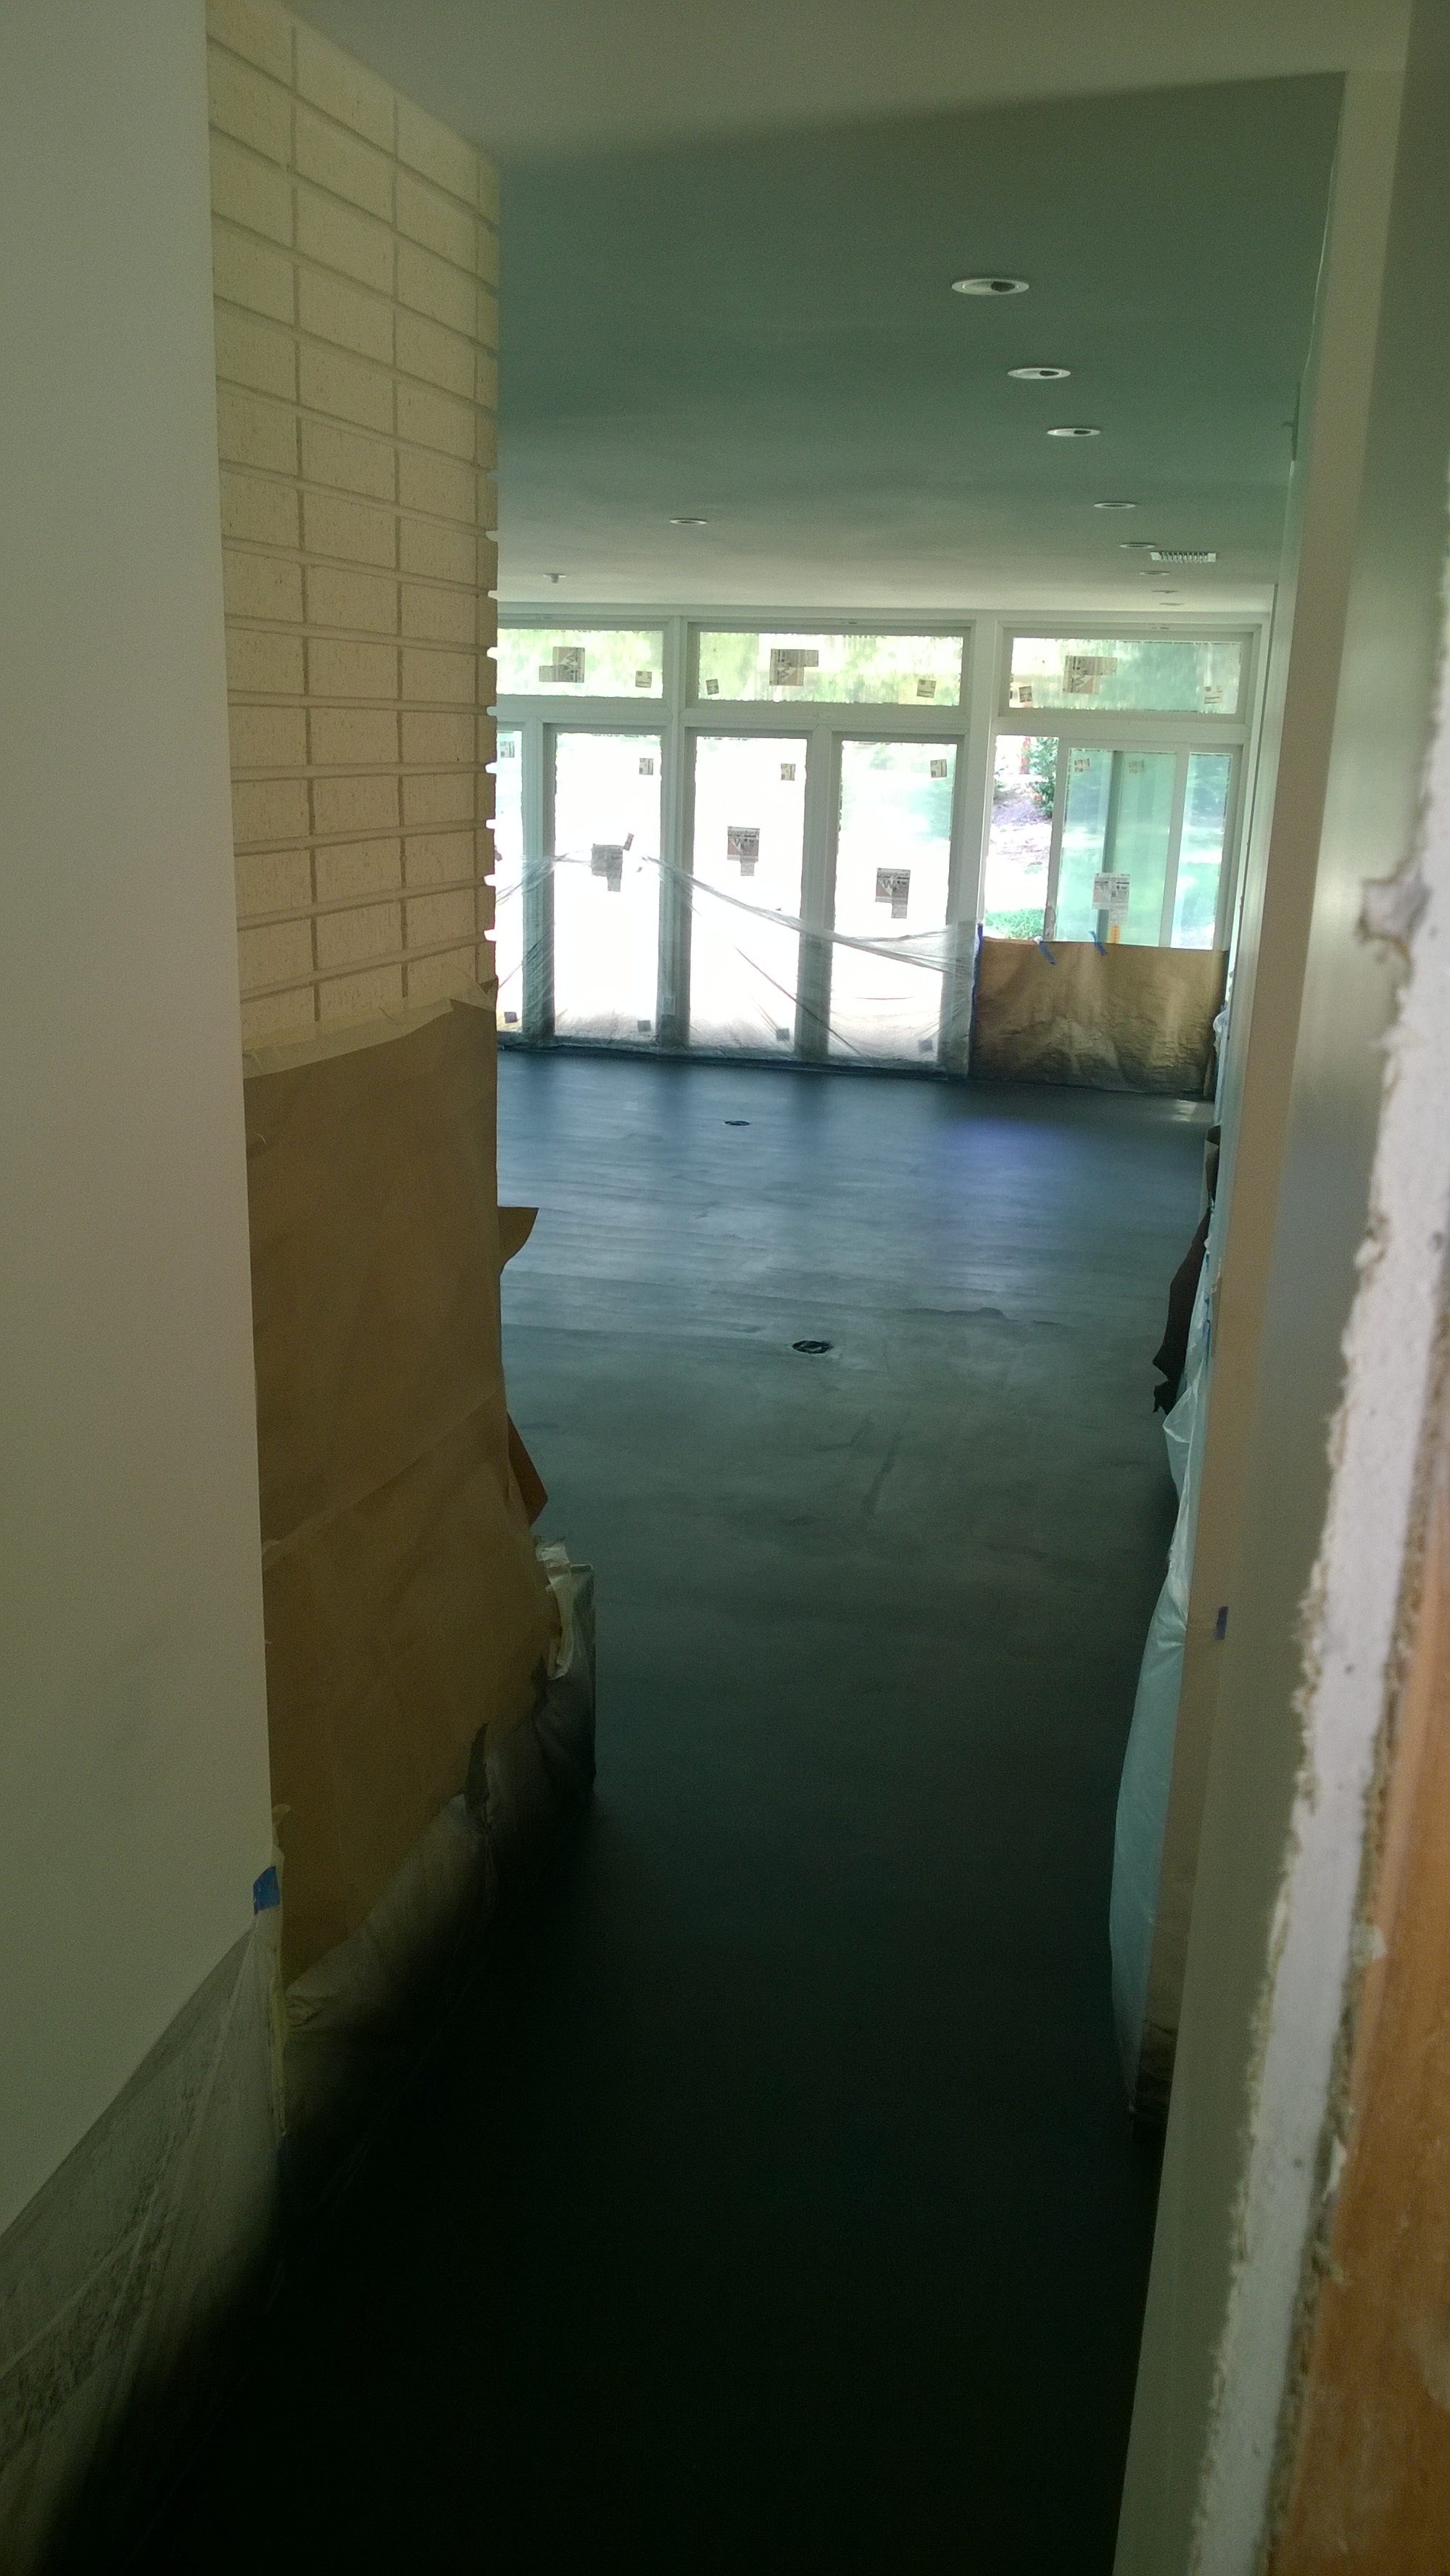
Today’s subject is floors. Specifically, stained and sealed concrete downstairs, hardwood up. As a bonus, you’ll see some stair treads and finished baseboards. I know it’s exciting, but try to stay in your seats.
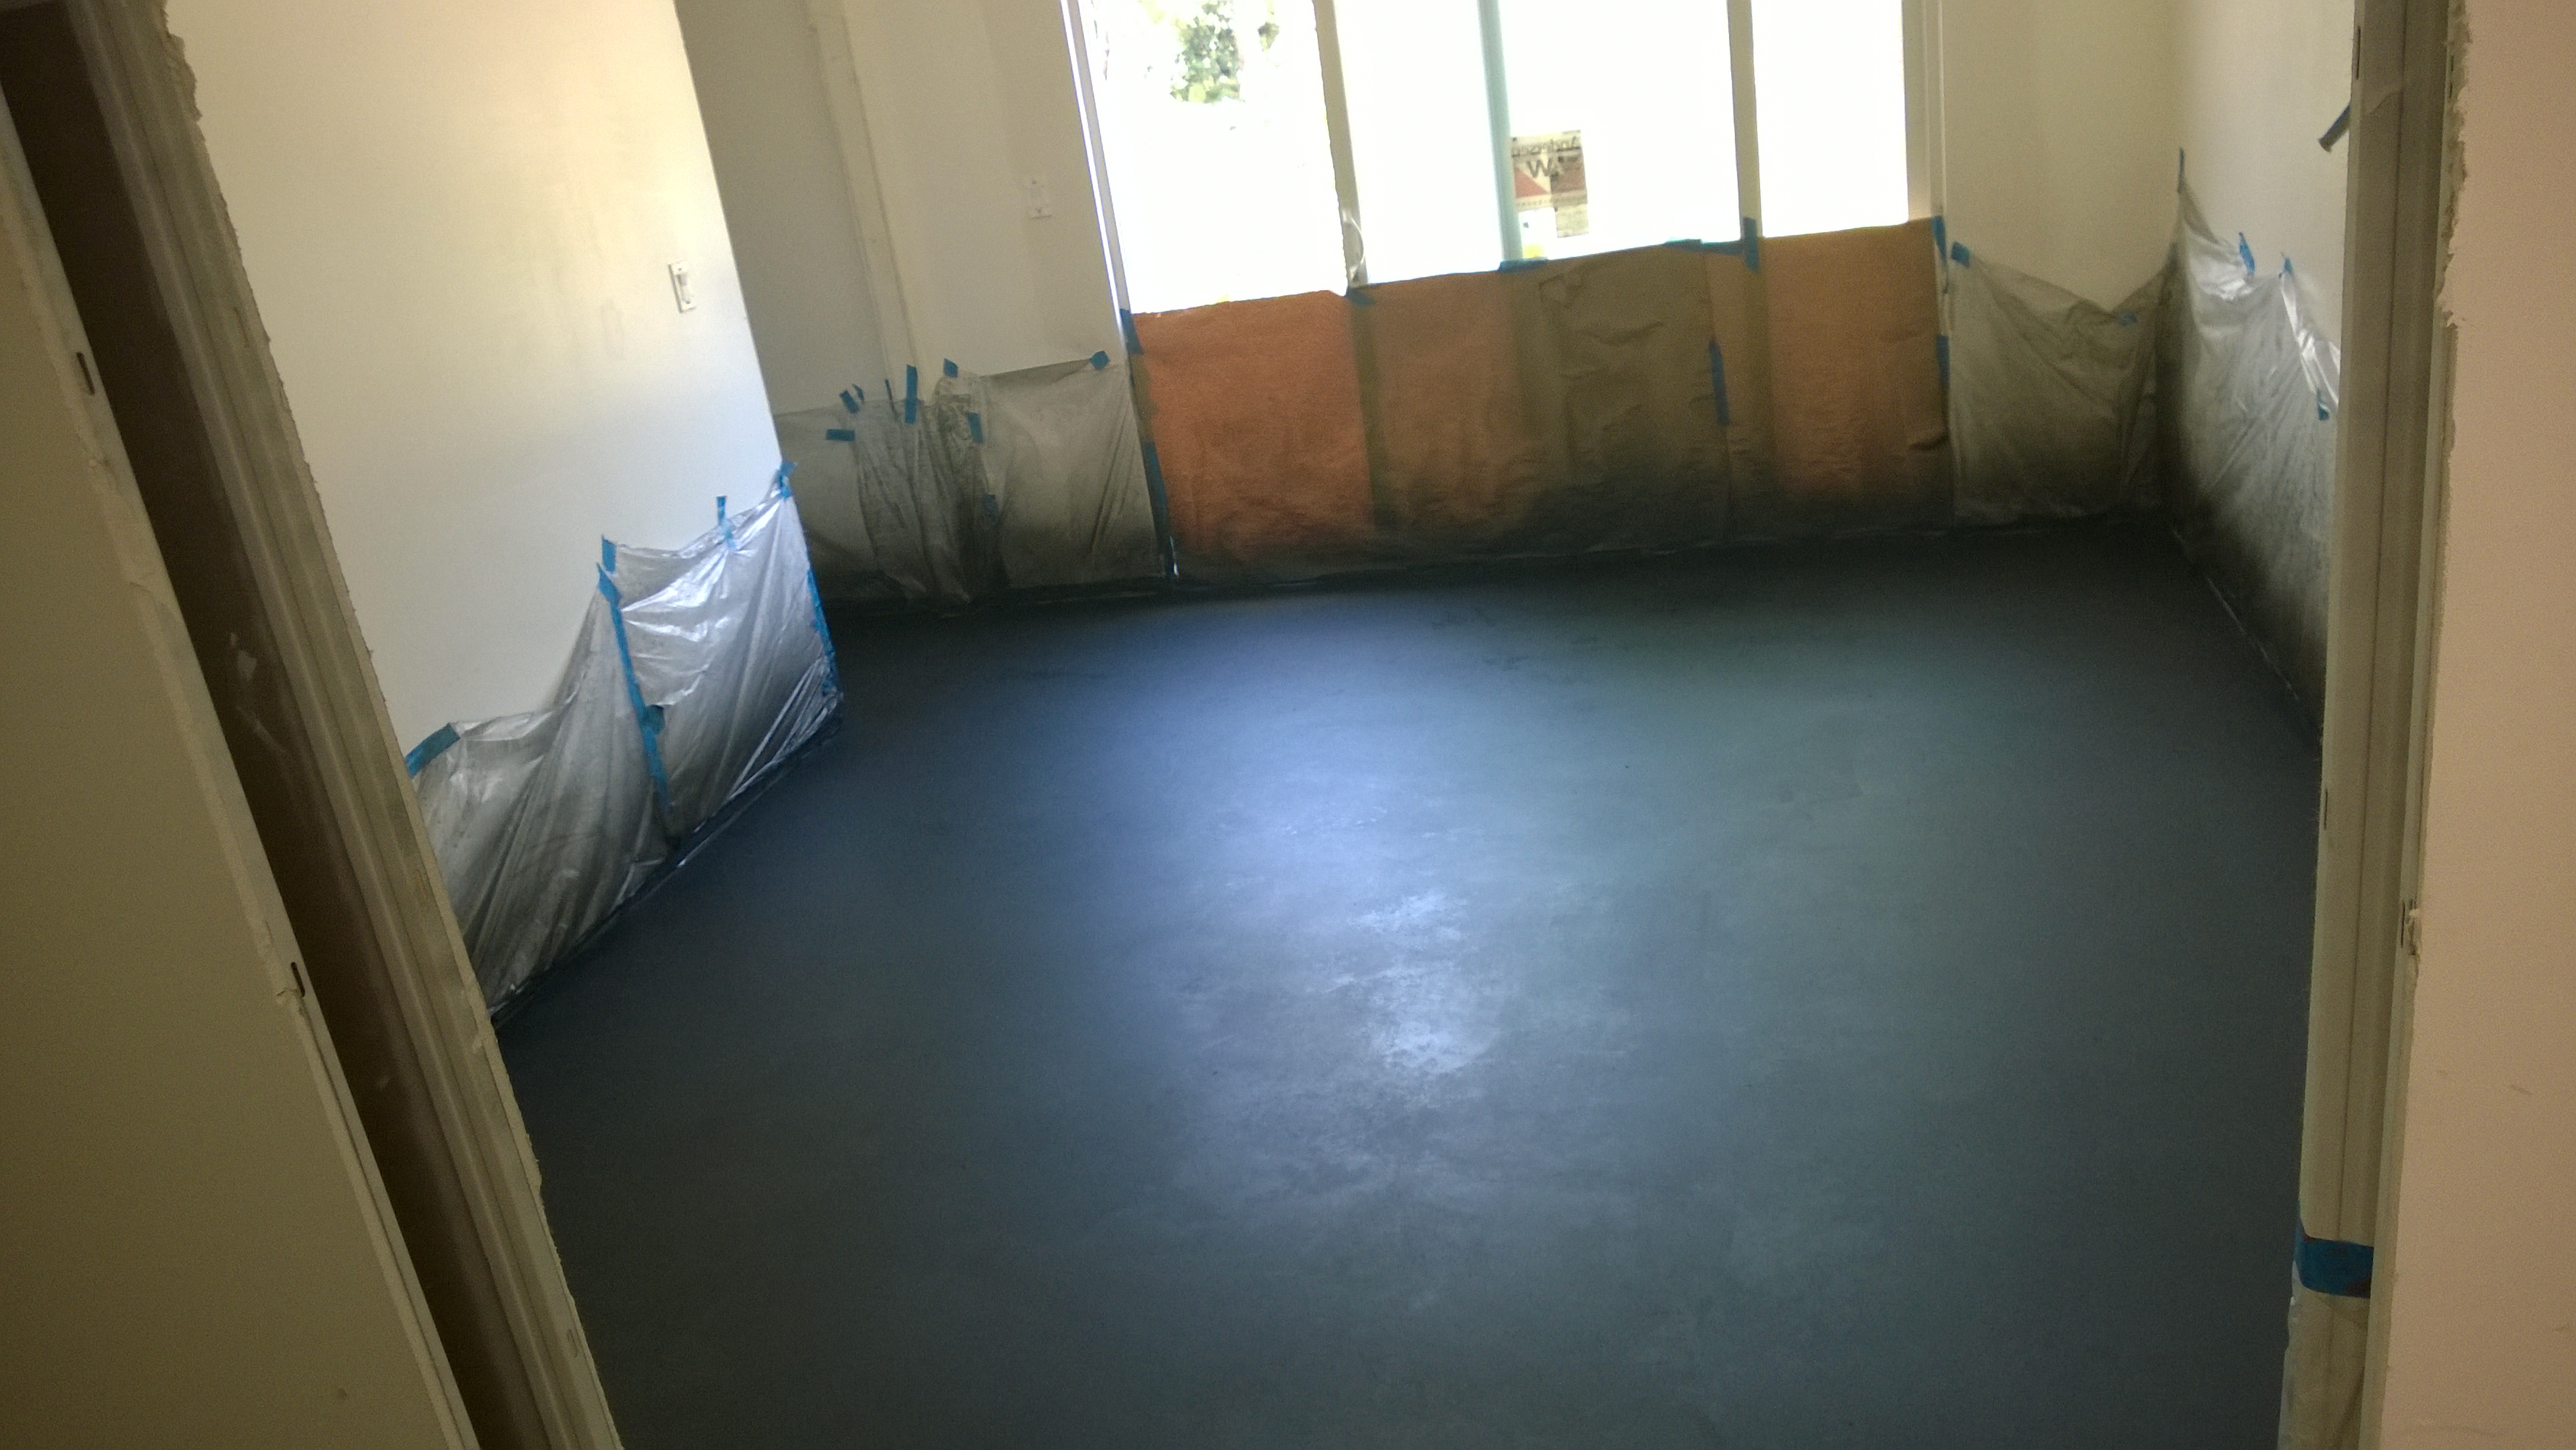
Before we start talking about the work we did, I must give props to our builder. Thanks to his team the foundation concrete that makes the floor on the first level of this house was as smooth as a baby’s bottom and as hard as this work was for us, it would’ve been far worse without their excellent prep work.
Not pictured: Mother-in-law scooting around the floor on “Rube the Cube” (a wooden box on casters), Popsicle stick in hand, scraping from the floor blobs of dried mud left from the taping and bedding process. Why a Popsicle stick and not something bigger, such as an actual paint scraper? We don’t know and at this point in the process it was too much work to ask too many questions. She, Rube, and that little stick got the floor spotless and that’s all that matters.
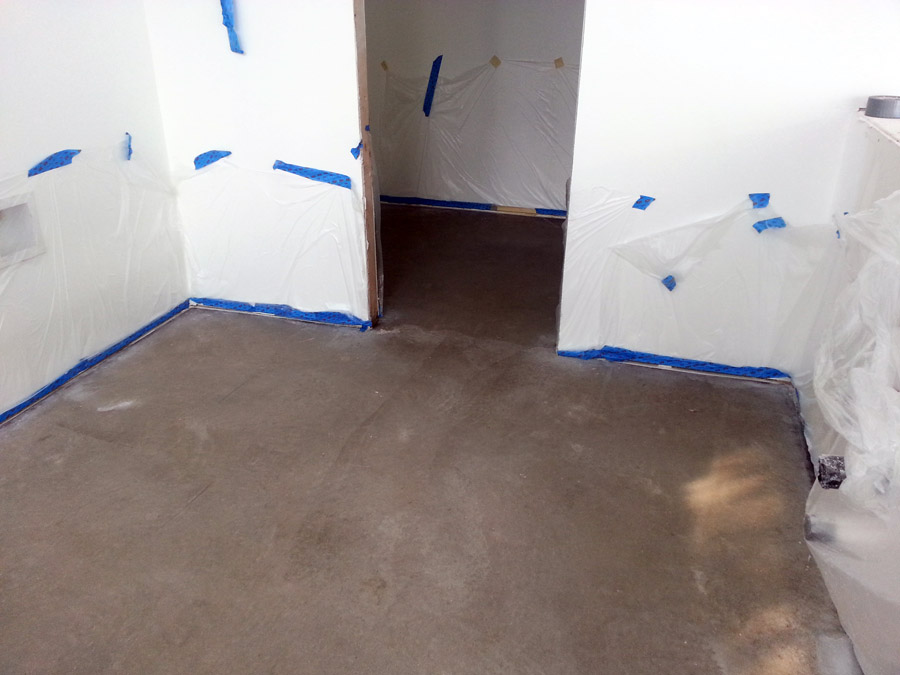
Below is a picture of my stellar job of taping off the walls with plastic. I first lined the walls with heavy paper, then thought better of it because of the amount of water I expected us to use. I loathe doing things twice and this picture shows both my skill and attention to detail on the second go-round. Have you ever seen better tape placement? In my defense, this is the kitchen and I expected most of the mess would be covered up by cabinets (spoiler alert: It was!). I’m defenseless in explaining the dye on the front door, the fireplace brick and the far corner window in the dining room.
Not pictured: Mark spreading a non-corrosive biodegradable gel on the floor to prepare “a concrete substrate by producing a moderate surface texture.” In other words, an acid that etched away a bit of the concrete so the dye could penetrate better. We found it worked great at exfoliating the soles of feet too. Why did we stand barefoot in the middle of this stuff? See two paragraphs up about asking questions.
After the gel set, the real fun began. We should’ve used a lovely all-in-one machine like the one pictured below.
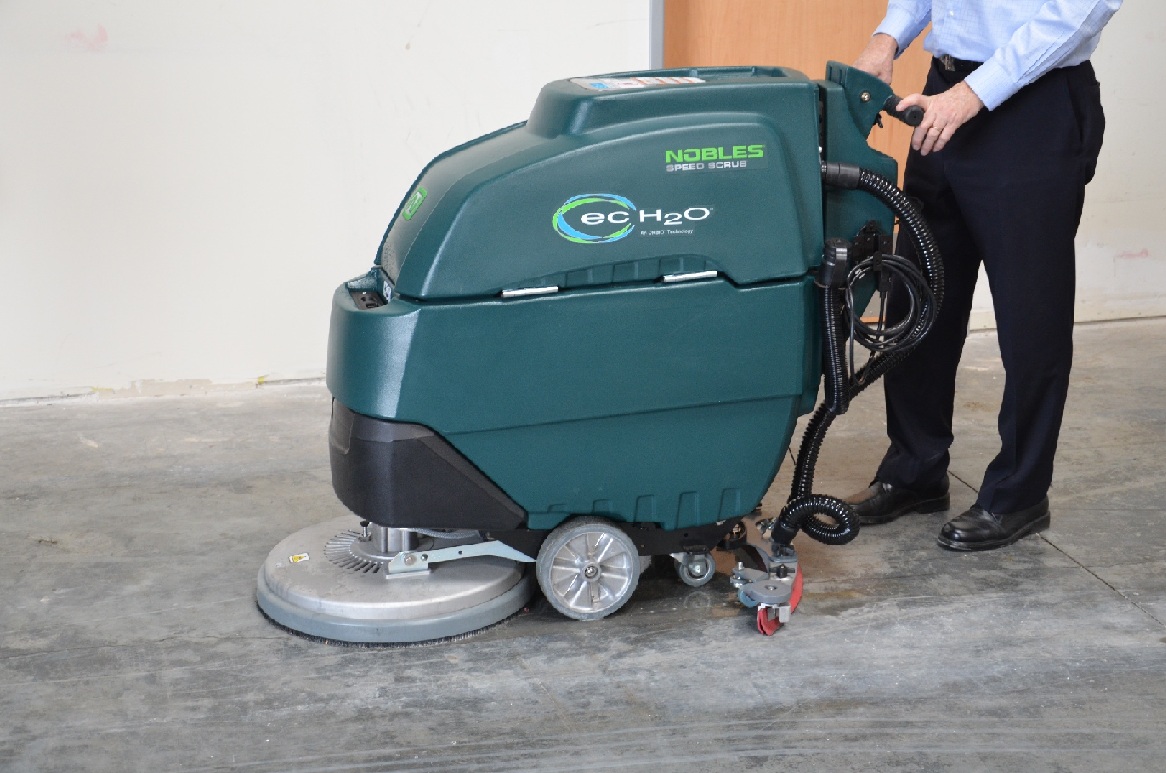
photo courtesy of keepclean.com
It agitates the gel, then applies a water rinse and sucks it all up. It’s magic! In accordance with our luck, finding one of these contraptions to rent is about as easy as convincing a magician to reveal the secret behind his best trick. We were under the gun, time-wise, so we had to suck it up and do the work of this machine ourselves. It took four of us.
Mark manned a heavy-duty low-speed scrubber similar to the one pictured below.

photo courtesy of webrestaurantstore.com
While FIL worked the water hose, MIL vacuumed it all up with a shop vac and I operated the squeegee.
It sounds so easy.
Everyone except Mark walked away from this work looking like Quasimodo. Don’t worry, Mark didn’t fare any better. This is where he lost a toe. Well, not a toe, exactly, but his whole toenail was ripped off by the machine pictured above. Okay, fine, not the whole nail, but definitely a whole corner. There was sooo much blood. I can’t emphasize enough the amount of blood. We’re just lucky water hoses and shop vacs were on-hand.
We all recovered enough from the horrible first step to move into the second step: dye.
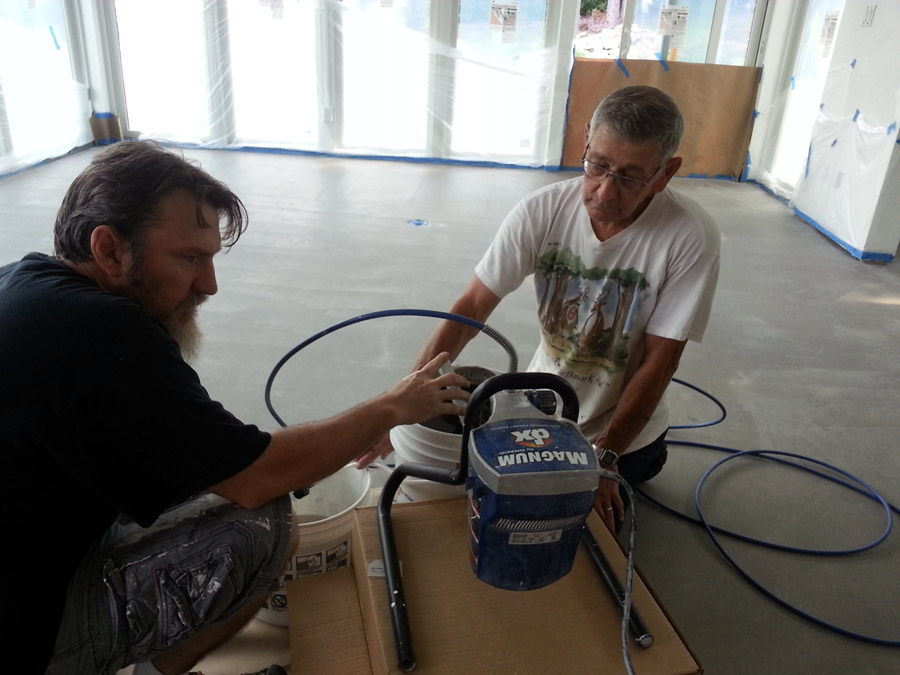
Here are the fellas getting the sprayer ready. The excitement is palpable, no?
Not pictured: The actual process of spraying the dye on the floor.
It’s messy work that does not lend itself to picture-taking.

This part might’ve been messy, but it was relatively painless. The only downside was closing up the house. No one wanted the dye to float up and stick to the walls, so we closed all doors and windows to avert all cross breezes. Stifling heat does not adequately describe the situation.
I won’t fault you for thinking this next photo is a synchronized interpretive dance.
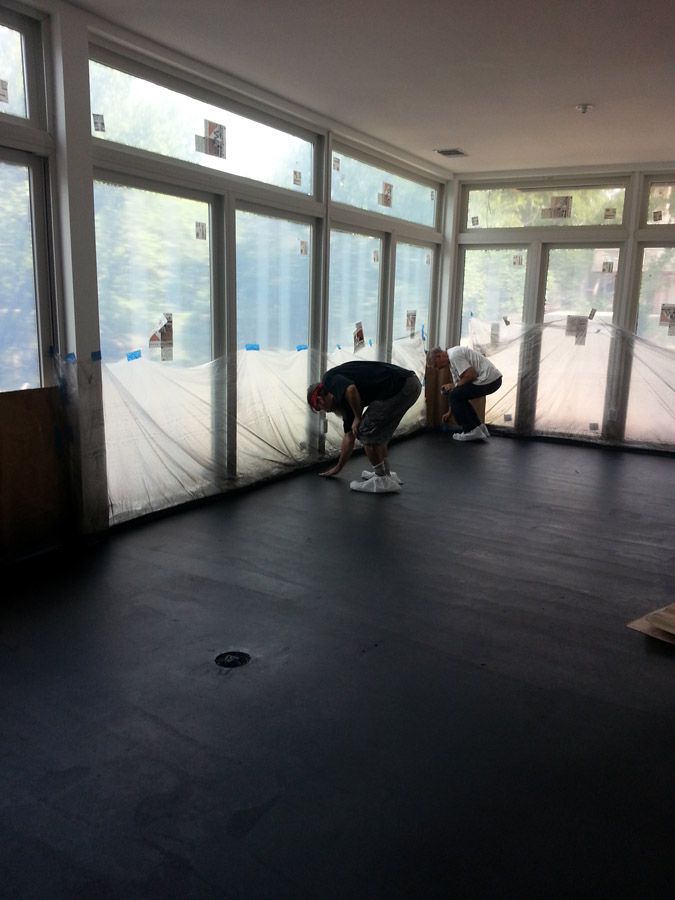
After a couple of coats of dye, we applied the sealer.
Oh good heavens, it was miserable. We used the sprayer with relative success, but it was a slow process. Then Mark’s dad and I thought we would get crafty and use a roller brush to apply the sealer in the kitchen while Mark was at work. I would say it was the worst mistake ever, but that’s a little dramatic. It was certainly the worst mistake of this project. I arrived at the house at 5:30am the following morning to check our work after it dried and found the floor thick with billions of bubbles. I tried to sand ‘em off and ended up in tears. Mark received more than one text from me saying “We’re f*cked.” The poor guy had to juggle meetings and his angry insane wife. His dad and I ended up machine sanding most of the titanium-hard stuff off. We both walked away with a permanent list to our shoulders. There are no pictures of any of this because of tears.
I enjoyed sanding the kitchen floor so much I took it upon myself to do the rest of floors. Mark willingly volunteered to do it too. Perhaps I’m not the only crazy person around here.
Thousands of square feet wet sanded by hand. Twice. The upside is that the rest of the floor was sprayed, not rolled, so this work was much easier than what we had to do in the kitchen.


As we waited for each coat of sealer to dry, I worked on baseboards in the garage. We had no electricity and we had to keep the garage door shut so dirt and dust wouldn’t blow on to the sticky floors. The little flashlight worked well and I passed the long hours pretending I was in a one woman show. It was a smashing success—the audience and critics loved it.

Then the battery died.
Stuck in a darkened garage, unable to see to paint and no longer able to see my audience of power tools, I turned on my trusty phone light and made this sign.

It worked! I didn’t have to blind or kill a single person.
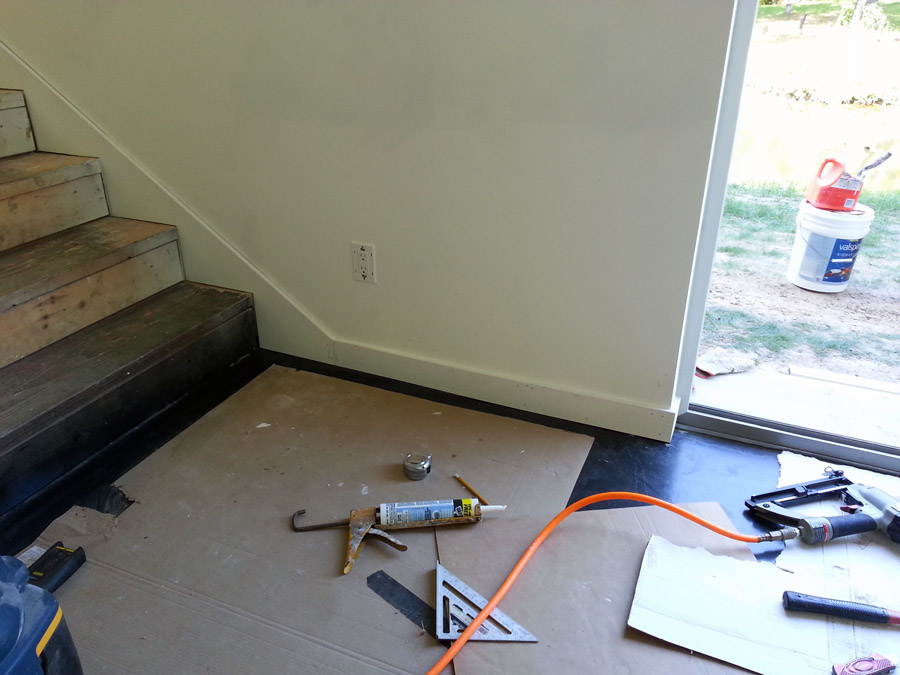
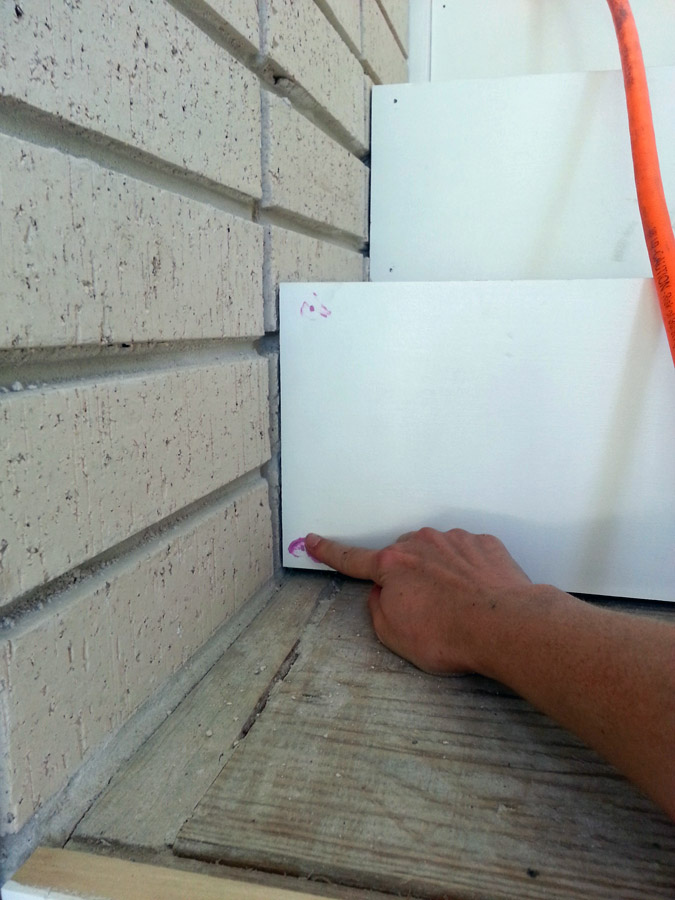
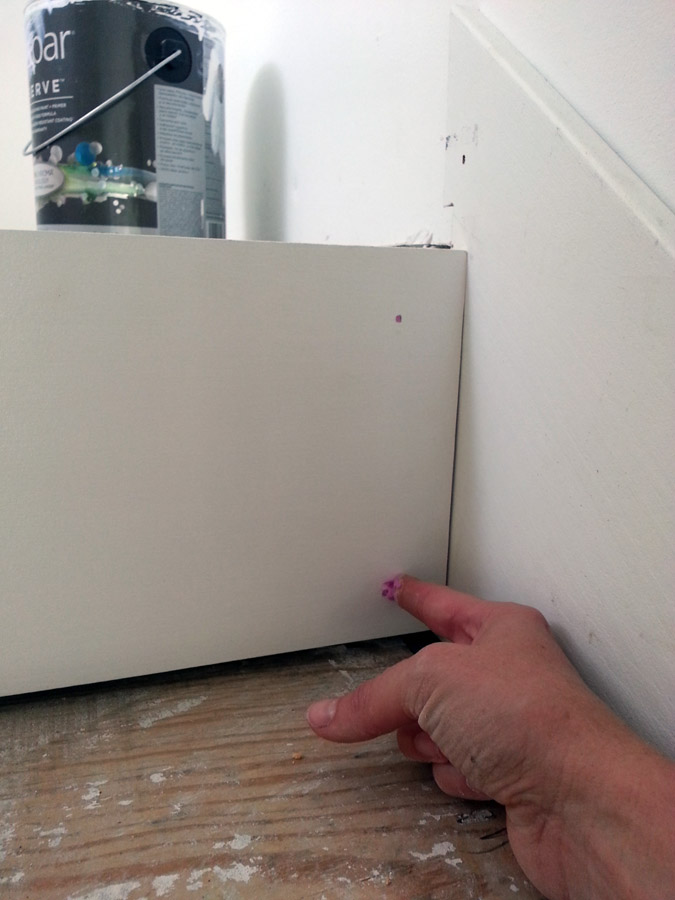
After we finished sanding and sealing the floors and sanding, priming, and painting the baseboards, the two were ready to meet. Side note: we chose thinner, smaller baseboards than what’s typically put in houses today because we felt it worked better with the style of the house. It was an added bonus that this minimal look required less paint and caulk and fewer nails.

Then we started work on the stairs. While we were on our hands and knees wet sanding the floor, the in-laws did most of the stair prep at the workshop at their house. They sanded, stained, and sealed all the treads and the handrails. I’m certain they saved our lives.

Chomp. The stairs looked like the mouth of a giant fire-breathing dragon for weeks. I like to think I’m a reasonably grown-up and mature person, but I couldn’t climb these stairs without going as fast as possible, taking two or three steps at a time, then breathing a full sigh of relief after safely reaching the top without losing a leg.

The dragon died when FIL and I installed the risers. Okay, fine, he installed the risers while I watched. I did my part by filling the nail holes. If you’re interested, I got a blister on my finger from this strenuous work.


Father-in-law’s tools:
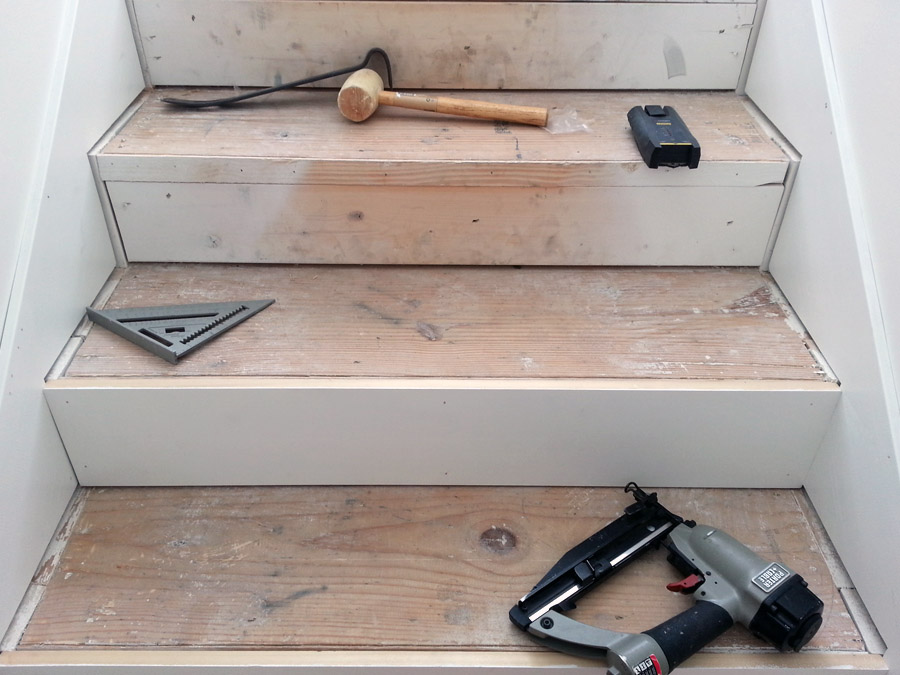
My tools:

We make a pretty good dragon-slaying team.

Handrails! I’m so happy Mark found these flat rails. We expected to use a modern round version, but then he came across these and they work so well with the retro feel of the house. They’re one of my favorite things…probably because I didn’t have to sand, stain, and install them.

Treads!
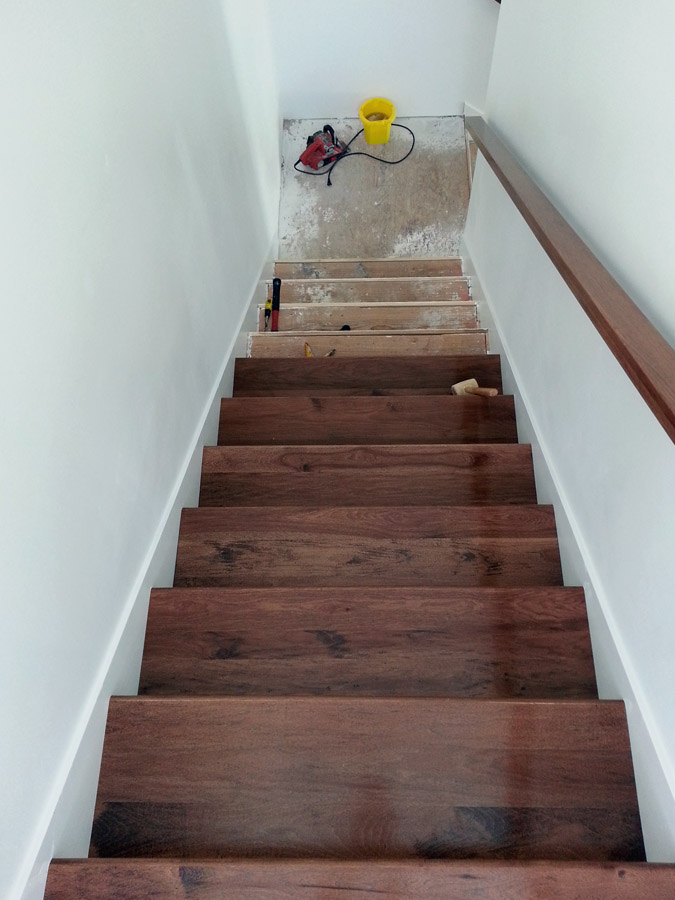
Movin’ on up…
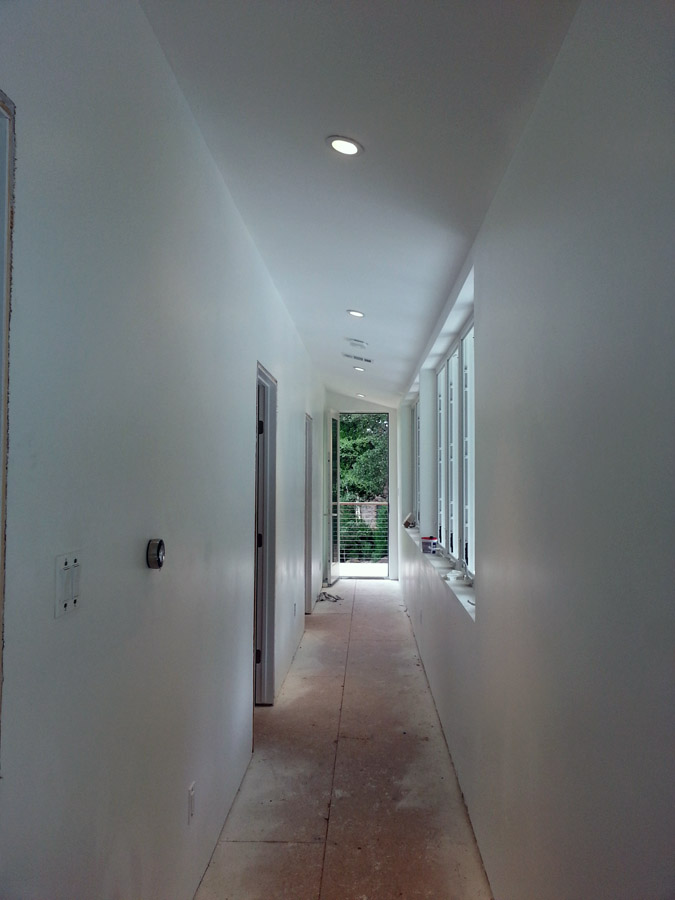
After finishing the stairs we turned our focus to the hardwood on the second level.
Please note the working lights! During the time between dyeing the floor on the first level and finishing the stairs, we passed our electrical inspection, Oncor installed the meter, and our electricity was finally switched on. That whole process was a pain in the left buttock. That’s all I’m going to say about that.
Pictured below, the first step: underlayment.

Mark’s parents and I worked on the floors during the day while he was at work. Then they would go home and Mark and I would work until our eyes crossed.

It was about this time we started questioning our decision to use the 2 ¼” planks instead of today’s popular 5” wide variety. They created so much more work and it was such a hassle at the time, but now that it’s done we’re both happy we stuck with it. The thinner planks are more mid-century era-appropriate and I think they’ll stand the test of time better than something trendy. At least that’s what I kept telling myself as we frequently reloaded the nail gun.

The picture below is when we moved from the hall into a bedroom. It was both a blessing and a curse to have electricity at this time: A blessing because we were under an intense and almost impossible deadline from the bank and being able to work well after the sun set saved us; a curse because we were so exhausted and working well after the sun set nearly killed us.

Hardwood floors are really just giant puzzles permanently attached to your home.

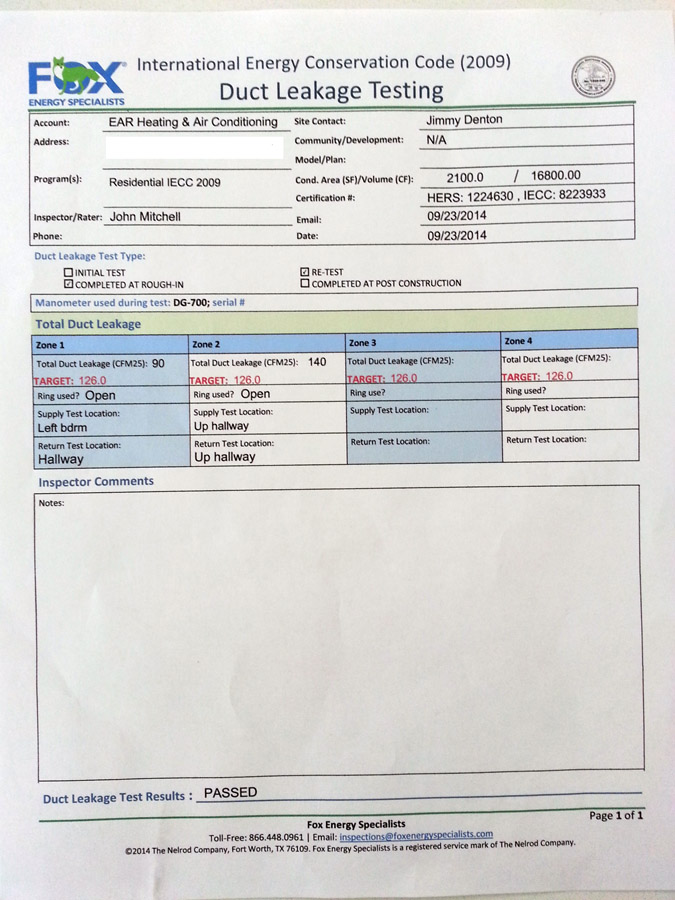
One glorious day, as FIL and I worked the floor in the kiddo’s room, the vent inspector showed up to test duct leakage.

We passed! More than one full year after we broke ground on this project we were able to turn the air on.
Backbreaking work right there.

My contribution was to hold the crowbar. Check out those rippling veins and that one bulging muscle.

Working on the last few rows.
 Voila! A floor and almost finished baseboards (still needed: nail filling, caulk, and a final coat of paint).

Now we go back downstairs to see Mark burnishing the concrete floors.
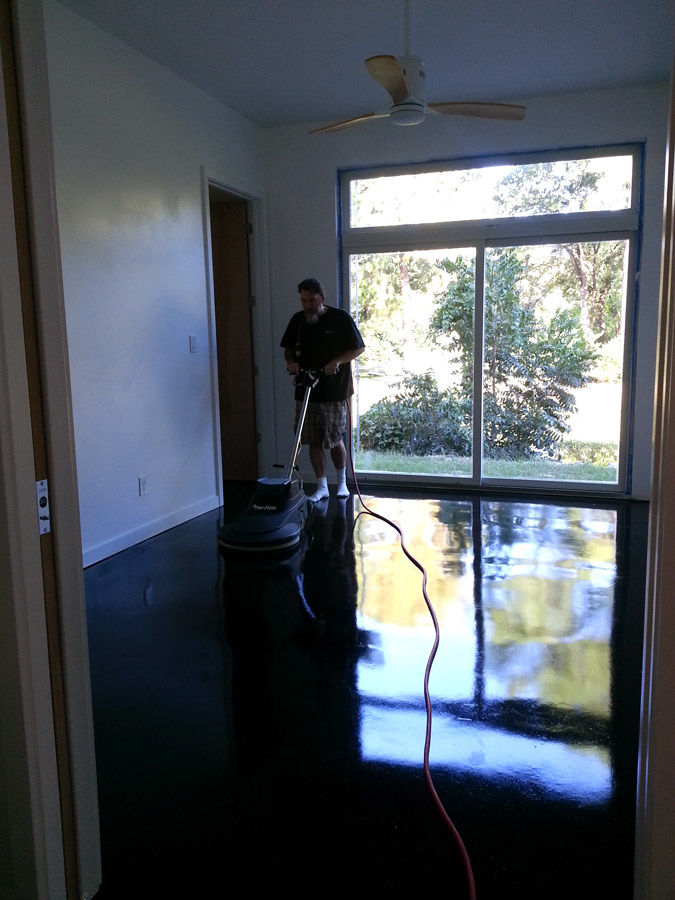
I got to know the folks at our local janitorial supply store well. They have so much cool stuff!

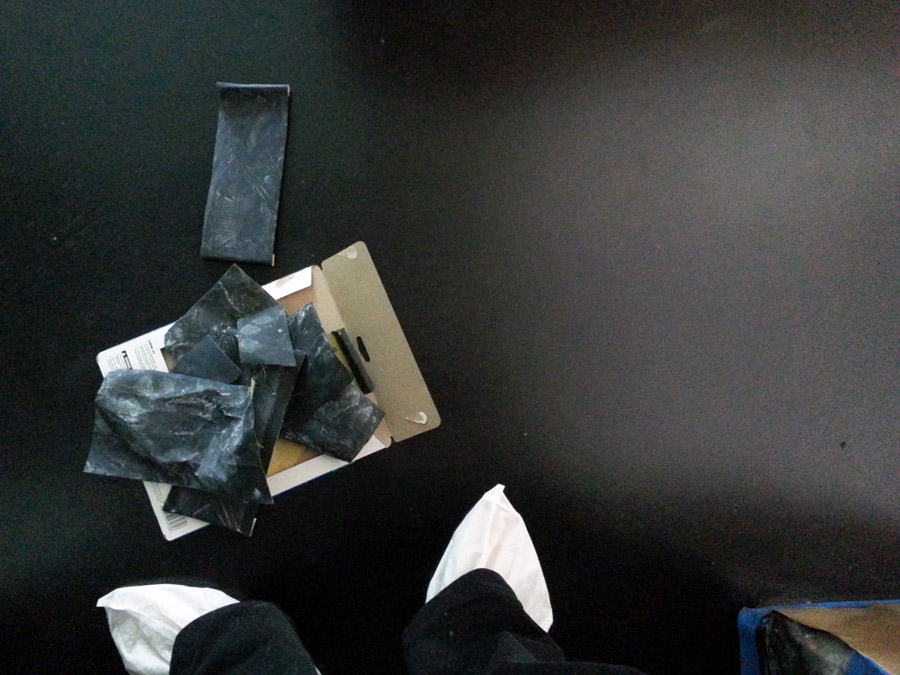
The floors looked like water after Mark finished burnishing. To be honest, it was too much. The shine was disorienting. Ducks could break their necks trying to land in that stuff.
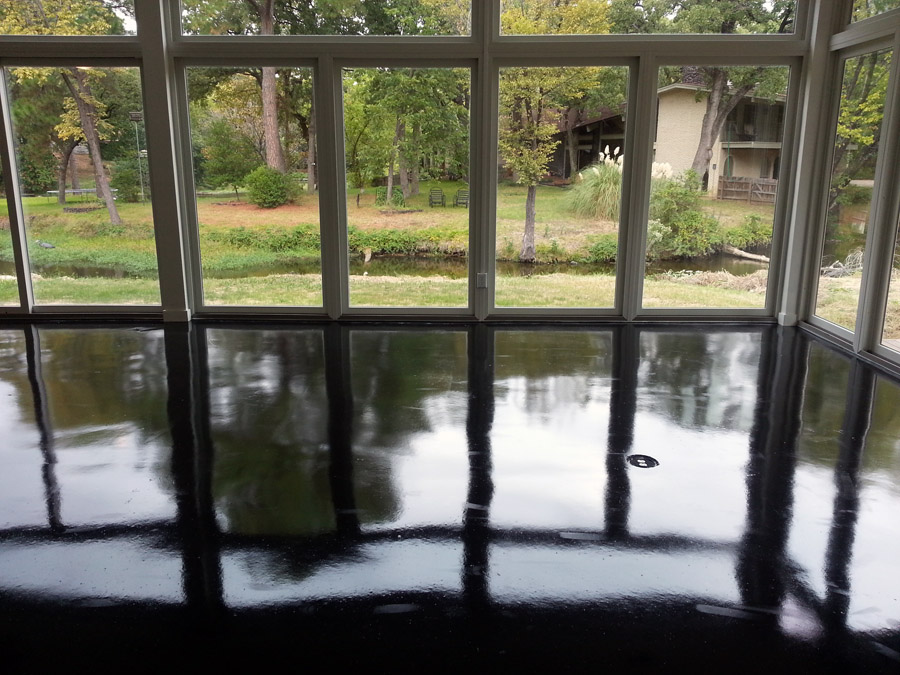


At night it looked like a rave.

Adding rugs and furniture helped tone it down. We never intended for it to be this shiny and we’ll never maintain this level of gloss, but it’s fun to know we could do it again if we wanted. Not that we’ll ever do this sort of thing again.

This is fantastically perfect! Love the house and your steady depiction of the family in their respective roles. Please keep feeding us more — it’s utter greatness!
Thank you kindly.